Preparing for Daycare in Japan
Last Updated on July 3, 2024 by Kay
This post may contain affiliate links, meaning I may earn a small commission on any purchases through those links at zero additional cost to you. Whatever I make goes to keeping this website running and I am forever grateful for the support. See my Privacy Policy for more information.
In the second part of this series looking at daycare in Japan, I’ll be sharing how my husband and I prepared for daycare, which involved a lot of paperwork (of course, it wouldn’t be Japan without it), meeting with the daycare staff, and getting all the necessary items ready.
If you’re interested in reading the first article of this series, which gives an overview of the daycare system in Japan and how to apply to daycare, click here.
Forms Galore!
After your child gets accepted into daycare, you will likely receive several documents from your daycare that you are required to fill out and submit. Some daycares allow you to do all of this online but despite having an app for us to see pictures of our daughter and communicate with the daycare (another thing to ask about if you’re looking for a daycare), all the paperwork we received had to be filled out by hand. And there were a lot of papers:
- 乳幼児の健康調査 (nyuuyouji no kenkou chousa)
This form had us answer questions about our daughter’s birth (how was she born, at how many weeks, were there any complications, what was her weight, etc) and development (how is her appetite, how often does she sleep, when did she reach certain milestones such as rolling over and crawling, etc.) - 食物アレルギー調査標 (shokumotsu arerugi chousa hyou)
For this form, we needed to indicate whether our daughter had any allergies and if so, provide more information such as what happens when she has an allergic reaction, where on her body she has the allergic reaction, etc. - 健康診断書 (kenkou shindansho)
This form was filled out by our family doctor after our daughter got a health check to make sure everything was okay before she started daycare. - 就労証明書 (shurou shoumeisho)
These forms were to be filled out by my company’s HR as well as my husband’s to confirm information regarding our employment and then mailed back directly to the daycare. In the case that we had parents who were living with us (which we didn’t) and employed, we would have to get their companies to fill out these forms as well to prove that they are unable to look after our child due to work. - 通勤経路時間連絡標 (tsuukin keiro jikan renrakuhyou)
This form required my husband and I to provide information about our commute to work. - 乳児の食事調査票 (nyuuji no shokuji chousahyou)
This was a very detailed form that we had to fill out about our daughter’s meals, such as how many times a day she had solids and formula, at what time, and what solids she had tried. - 園児票 (enjihyou)
For this form, we had to fill in basic information about us, our child, our address, etc.
We also received a form to submit if we wanted our daughter to attend daycare on Saturdays (土曜保育申込書) as well as a form for any prescription medication she was taking (与薬シート).
Each daycare will have its own paperwork that you’re required to submit so don’t panic if the forms you receive (or don’t) aren’t even remotely close to what we had to fill out. The list above is just to give you an idea of what you may have to submit.
Meeting with the Daycare
Before our daughter started daycare, we were required to have a meeting with the daycare staff (相談 or soudan). The time of this meeting varies depending on the daycare, and ours was two weeks before our daughter was supposed to start. It felt like short notice, especially since I anticipated having to buy a lot of things.
There were two teachers at the meeting, the head teacher of the school as well as the former teacher who was in charge of the ひよこ組 (Chick Class), which would be the class or group my daughter would go into as she was under the age of 1.
Most daycares in Japan have children in different classes or groups according to their age, and these groups tend to have their own names. My daughter’s class, which is for children under the age of 1, is called the ひよこ組 (hiyokogumi). After that is theうさぎ組 (usagigumi or Rabbit Class) for children who are ages 1 to 2, and then パンダ組 (pandagumi or Panda Class) for ages 2 to 3.
For the meeting, we were required to bring the aforementioned paperwork they sent us, our inkan, as well as submit some additional documents:
- a copy of the Record of Delivery (出産の状態 / shussan no jyoutai ) page and Immunization Record (予防接種の記録 / yobousesshu no kiroku) page(s) from my Maternal and Child Health Handbook (母子健康手帳)
- a copy of my daughter’s health insurance card (保険証 / hokenshou)
- a copy of the certificate that allows my daughter to get medical treatment for free (the name of this card varies according to where you live. In Tokyo it’s called 医療証 or iryoushou)
We were given a booklet at the meeting that contained information about the daycare, such as the number of teachers, size of each room, what they do and what clinics they visit in emergencies, information on infectious diseases (pre-coronavirus), what we needed to bring for daycare, and the daily schedule.
| Time | Activity |
| 7:30 | Daycare opens for the day and drop-offs begin |
| 9:00 | Snacks and morning nap (for babies dropped off early) |
| 9:30 | Walk outside and play in the park |
| 10:30 | Lunch for babies under 1 |
| 11:00 | Lunch for 1-year-olds |
| 12:00 | Nap |
| 14:30 | Snack for babies under 1 |
| 15:00 | Snack for 1-year-olds, playtime, measurement of body temperature, etc. |
| 18:30 | Dinner |
| 20:00 | Daycares closes for the day |
We also went over the narehoiku or narashihoiku schedule (which I’ll go into in the next article) and payment (in cash at the beginning of the month, which is kind of a pain). This was also an opportunity for the staff to meet our little one, who was surprisingly well-behaved until one of them tried to hold her and she (unsurprisingly) screamed.
One thing I found interesting was that they were surprised that Baby A hadn’t tried caffeine-free barley tea (ベビー麦茶) yet so they asked us to start giving it to her right away since she would be having it at daycare. We were also given a list of food and needed to check off what she had eaten as the daycare would be providing her lunch and snacks.
The foods were grouped according to baby food stages in Japan, so as Baby A was eight months at the time going on nine months, we had to finish giving her all food for the 中期 stage. This didn’t need to be done immediately as she wouldn’t be at daycare long enough to have lunch during her first few days and they would give us the menu in advance before she started having lunch so we could prepare. We were also asked to feed her lunch at home around the time she would have lunch at daycare, which was 10:30.
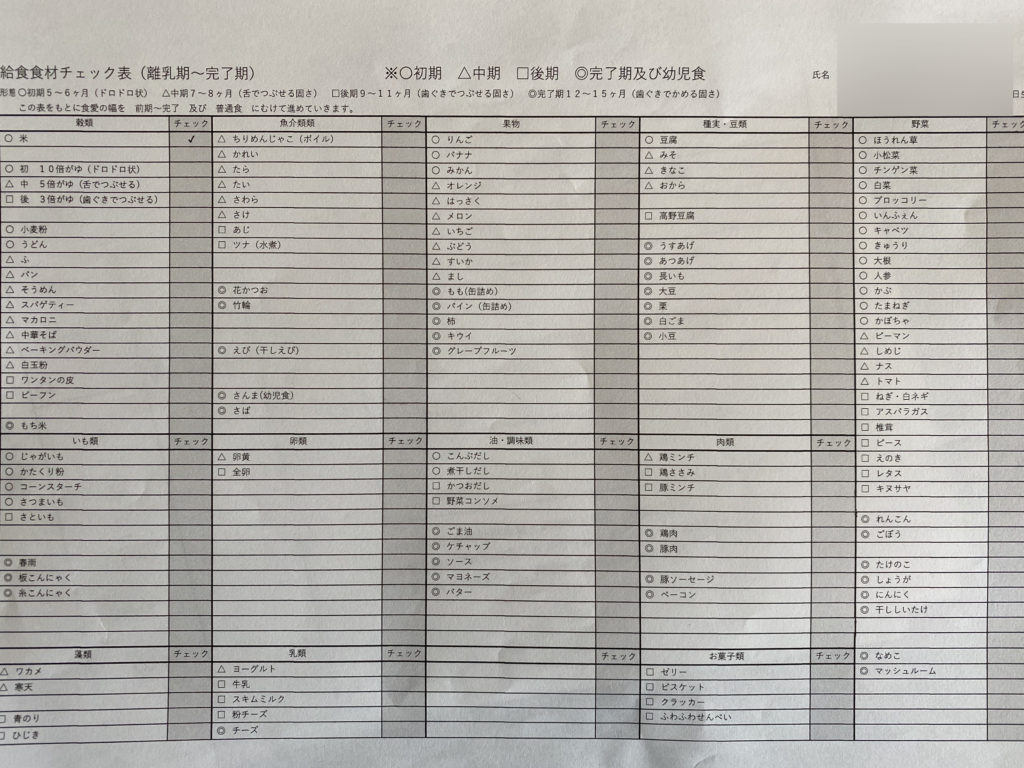
The very long list of things Baby A was required to eat before starting daycare. As she was 8 months, she only needed to eat food up to the 中期 stage. When she reached 9 months, we had to start giving her 後期 stage food.
What to Bring to Daycare and Label
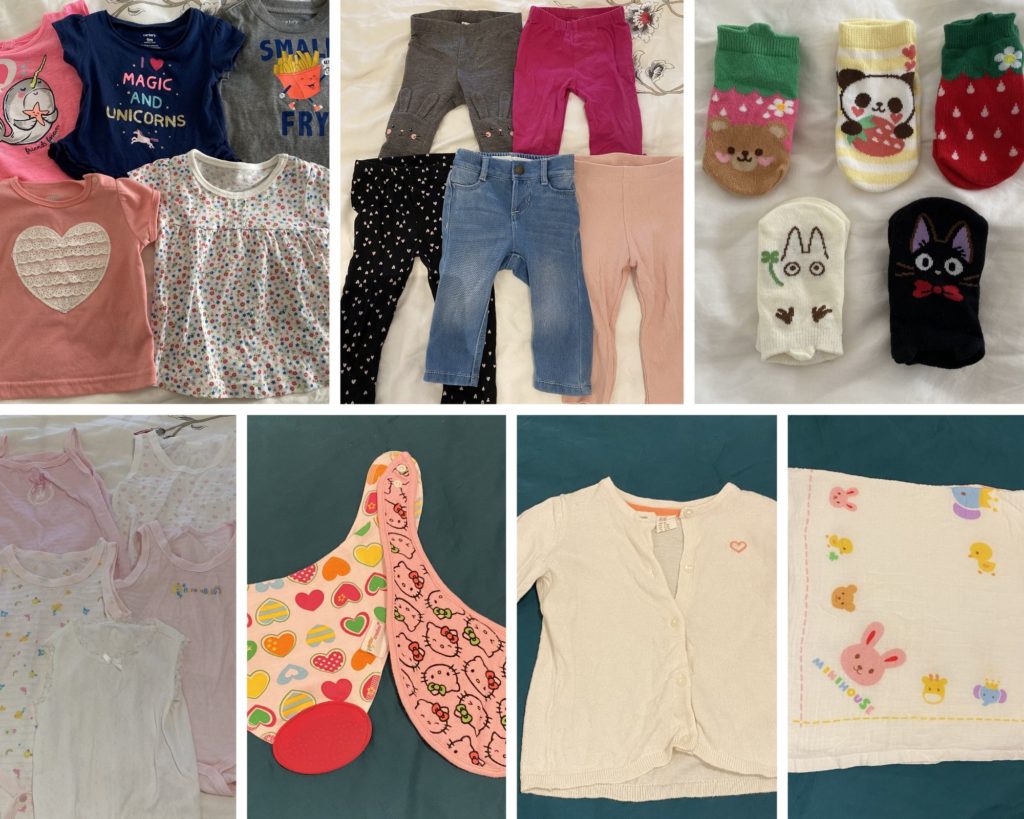
Different daycares will have their own requirements regarding what you have to bring for your child. Here is the list of things we were required to bring to daycare for our daughter:
- 5 pairs of shirts
- 5 pairs of pants
- 5 pairs of socks
- 5 pairs of undergarments (bodysuits or onesies)
- 2 bibs
- 2 washcloths (not pictured)
- One sweater or cardigan
- Blanket for naps (as it’s summer, our daughter has a towelket)
- One package of diapers
- One package of baby wipes
Initially, the daycare had told us to bring four outfits but that increased to five as they change her clothes at least once every day (sometimes up to three times!). I actually have more daycare clothes ready for her as it can be difficult to keep up with washing everything constantly when you’re working full-time, especially when it’s rainy season.
Considering how many clothes I had to prepare for daycare, I’m really glad I stocked up on 99 yen clothes from Nishimatsuya during their summer sale! There also weren’t any strict rules regarding what my daughter couldn’t wear except for no clothing with hoods as other kids could pull it.
We were asked to label everything so that it wouldn’t get mixed up with another child’s items, and I’m glad we did because they accidentally gave us another girl’s shirt once (even though the size was much larger than my daughter’s).
For clothing, we chose to order iron-on labels from Rakuten. I loved how you could choose from many different designs, they came in different sizes and shapes, and wouldn’t show through clothing. However, these labels require you to cut each one out, which is a pain in the butt, and will come off if not ironed on properly. They also don’t tend to stay on the outside of socks very well so we ironed them on the inside. The rest of her clothing had the labels ironed on the inside as well, usually near the collar of shirts and undergarments as well as the rear inner waistband of pants.
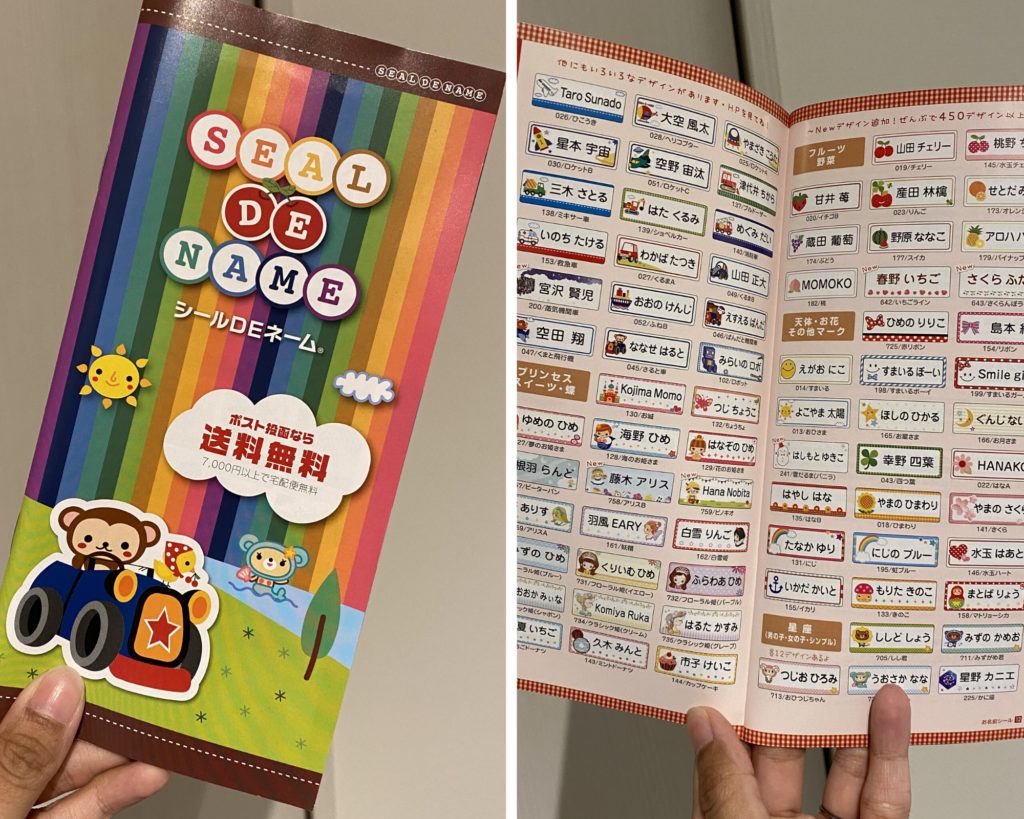
The leaflet for the iron-on labels
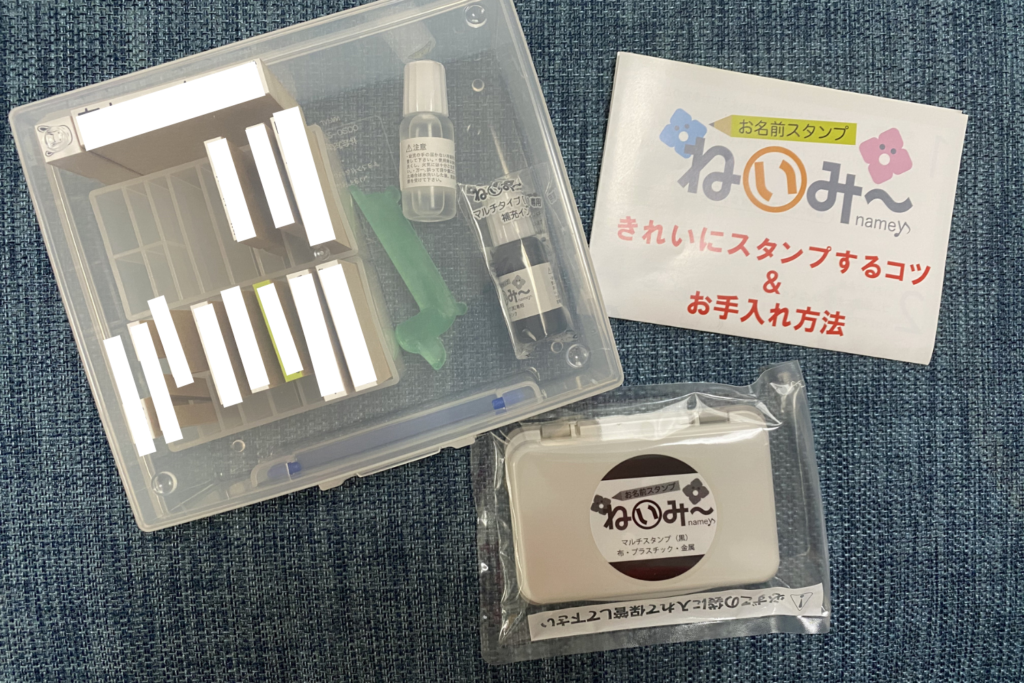
For diapers, we got an order-made stamp. Although it was a bit expensive, we chose to get one where you can put the ink inside the stamp. That way, you don’t have to keep pressing the stamp onto the ink pad each time you want to stamp a diaper. It saves so much time — I was able to stamp my daughter’s name on an entire package of diapers in under a minute!
 The diaper stamp. You can use it on other materials as well, such as plastic, paper, and even clothing, but as it’s quite big we have only used it for stamping diapers so far.
We also decided to try out personalized stamps of different sizes that come with an ink pad, mainly because although the personalized iron-on labels were cute, we knew we would have to keep ordering them after running out, and cutting out and then ironing on labels is a pain, especially in summer.
These stamps are very easy to use and I prefer them to the iron-on labels, especially as I can see myself using them for a long time, or at least until my daughter finishes elementary school. However, they won’t show up on dark clothing so you’d have to stamp them on the tag if you haven’t cut it off yet. (I bought the stamps pictured below from Rakuten but you can find similar ones on Amazon Japan.)
 The personalized stamps come in many different sizes
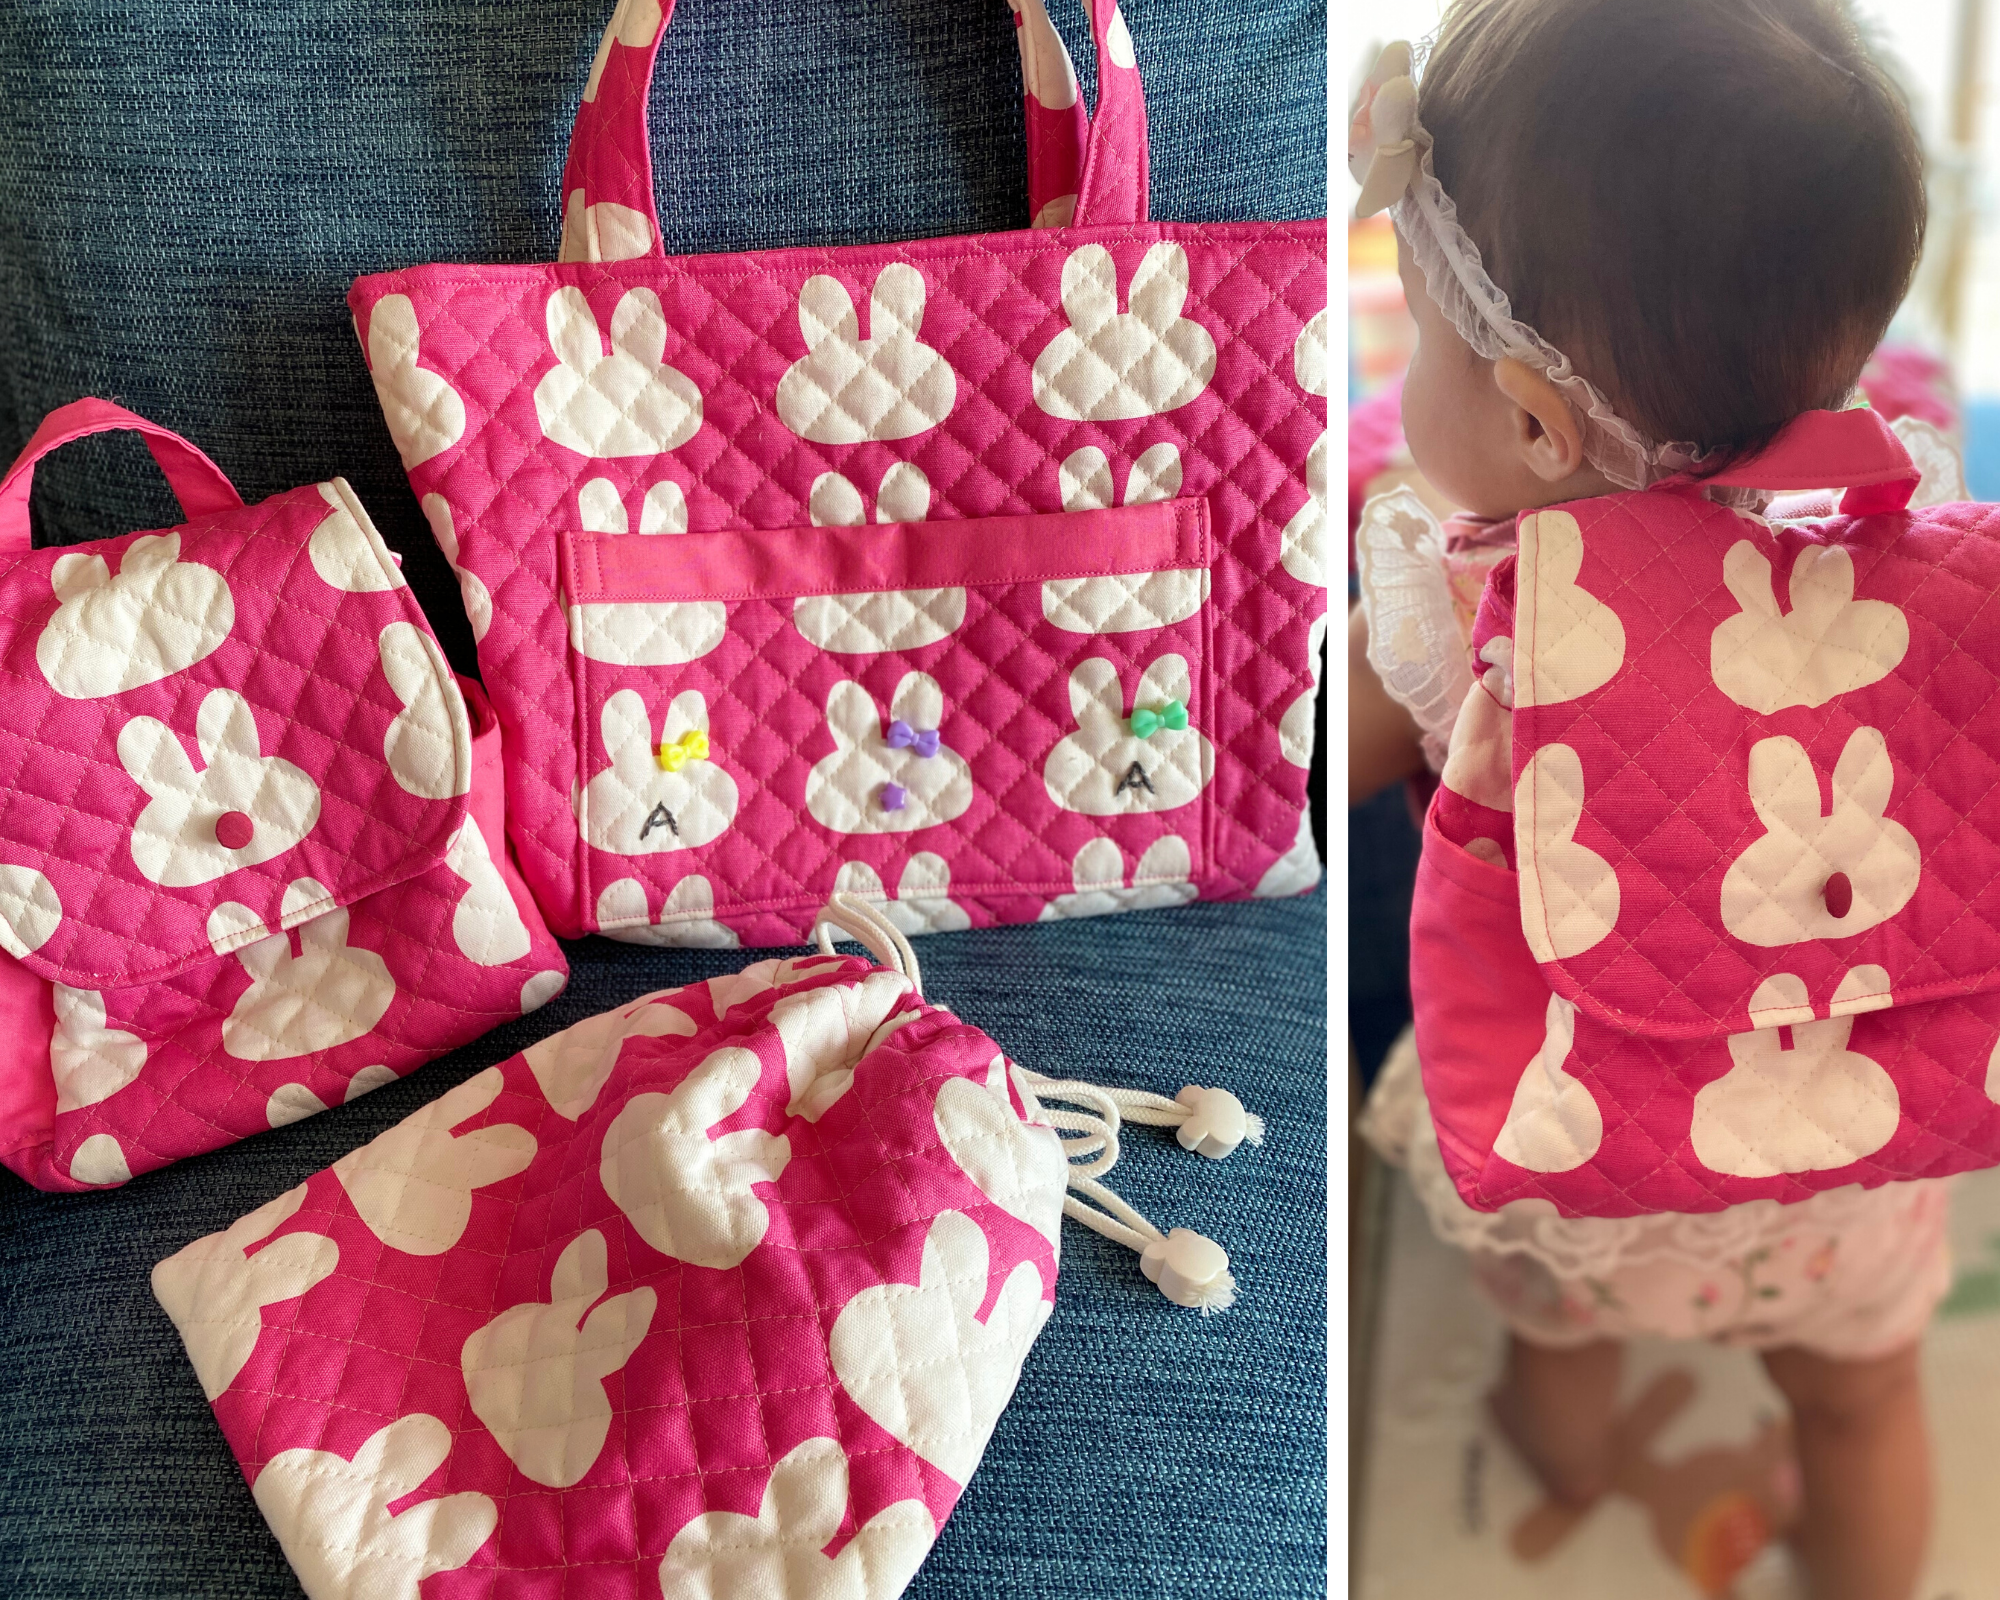
We didn’t have to worry about buying any bags for our daughter’s stuff as everything was provided by the daycare and our daughter’s things would be kept inside of a plastic box in a cubby. We didn’t know about this until the meeting (相談), though, and my mother-in-law had already sewed some adorable bags for Baby A. We also didn’t need to prepare any bottles, formula, sippy cups, futon for naps, etc., as everything was provided, and no toys or food from home were allowed.
Some daycares do require you to make or bring your own bags, bibs, etc. If you are not a fan of sewing (like me, I can’t sew to save my life), you can get these items custom-made for you through online marketplaces like Minne or a tailor like マジックミシン.
In the third part of this series, I’ll be talking about narashihoiku (慣らし保育) or narehoiku (慣れ保育) and the renrakucho (連絡帳).