The Nintendo Museum with Kids in Kyoto: My Family’s Experience
Last Updated on February 5, 2026 by Kay
This post may contain affiliate links, meaning I may earn a small commission on any purchases through those links at zero additional cost to you. Whatever I make goes to keeping this website running and I am forever grateful for the support. See my Privacy Policy for more information.
Japan’s first-ever Nintendo Museum opened in Kyoto in late 2024, and if you’re a parent who’s a fan of the company and its legendary gaming systems, you might be wondering whether it’s a good place to bring your kids.
The Nintendo Museum was originally called the Uji Ogura Plant and was built in 1969. They originally made both playing cards and Hanafuda cards before creating game consoles, their very first called Famicom (Family Computer) in 1983. Later, the plant operated as a customer service center for product repairs before becoming the Nintendo Museum in 2024.
In this article, I’ll share my experience visiting the Nintendo Museum with my child, not once but twice (!), and helpful information that will make your trip super smooth.
You’ll absolutely want to read this before you go!
Table of Contents
How to Get Tickets for the Nintendo Museum
The Nintendo Museum is currently reservation-only, meaning that you need to make a reservation in advance to get inside. Reservations open three months in advance. For example, entries for May were accepted in February.
Spots are designated via lottery (ticket drawing), meaning that you can only get a ticket for the Nintendo Museum if you’re successfully selected. Thankfully, to increase your chances of being selected, you get to choose three dates/times.
The website shows you which timeslots have the most and least number of people who’ve applied. However, although you might select a day and time that doesn’t have many applicants, this can change in the future if more people apply.
When it comes to which timeslot is best, I recommend choosing 1:00 PM at the latest since the museum closes at 6 PM. That was the timeslot I chose and got, and I just barely got to experience everything the Nintendo Museum has to offer. Of course, if you don’t want to do everything (which I’ll cover in this article), a later time is doable.
You need to enter your name in both Japanese and English when completing your entry, so use Google Translate for the Japanese version of your name if you don’t know.
You don’t need to pay for the tickets when you enter the lottery (after all, you don’t know if you’ll get a spot or not). You’ll receive a confirmation email to confirm that you submitted an entry for the ticket drawing and will receive a notification whether or not you successfully nabbed a spot at the beginning of the next month (JST).
If you’re successful, you have one week to complete the payment. Note that this is in Japanese Standard Time (JST), so don’t wait until the last minute! Your entry cannot be revised, so make sure you’ve accounted for everyone, including your kids!
Sometimes spots will open up for that month if people who’ve won the lottery don’t purchase their tickets in time, so on the 13th (JST), check the website again! Keep in mind that only late times might be open, and I don’t recommend going any later than 2 PM if you want the full experience.
Tickets for adults cost 3300 yen, ages 12-17 are 2200 yen, ages 6-11 are 1100 yen, and five and under are free.
How to Get to the Nintendo Museum
The Nintendo Museum is located in Uji, Kyoto. It’s a 5-minute walk from Ogura Station. Three different lines run to Ogura Station — the Karasuma Line, the Nara Line, and the Kintetsu-Kyoto Line.
It takes about 30 minutes to get to the Nintendo Museum from Kyoto Station and approximately an hour from Osaka Station.
I came from Osaka and due to an accident, I took the following route:
Osaka Loop Line from Osaka Station to Kyobashi Station, Keihan Main Line from Kyobashi Station to Tambabashi Station, and then the Kintetsu-Kyoto Line from Kintetsu-Tambabashi Station to Ogura Station.
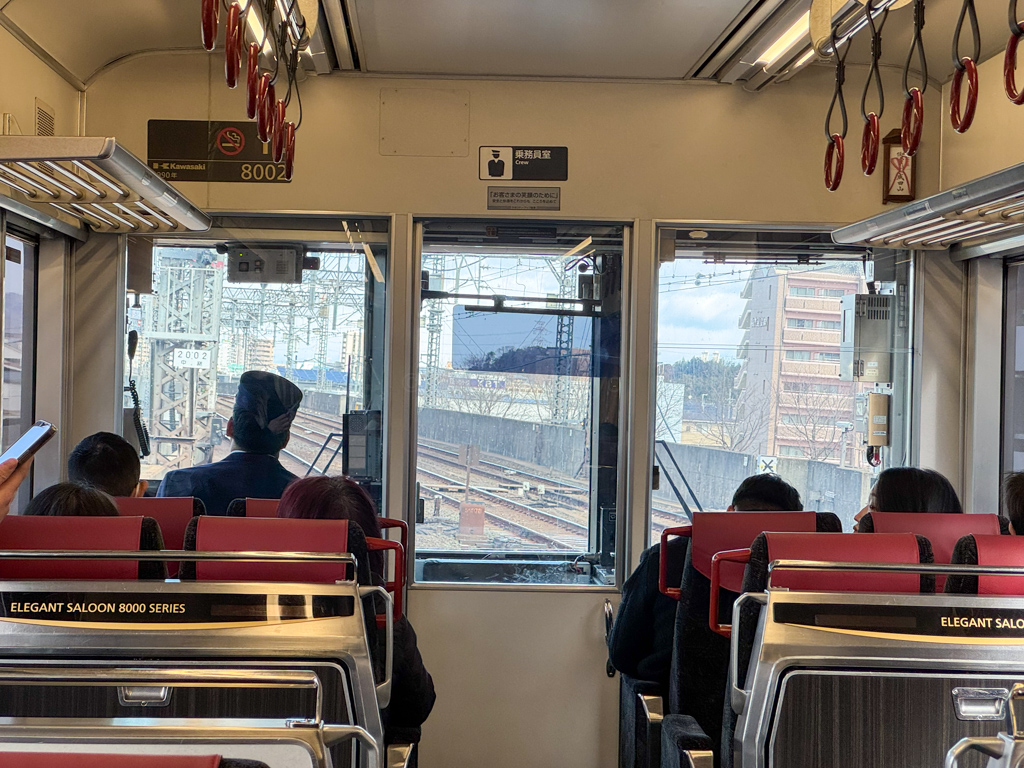
Although this involved one additional transfer, it was 100 yen cheaper than other routes that had only one transfer. I had also never taken the Kintetsu-Kyoto Line before and I was quite impressed by how fancy it is! One car is also a double-decker.
If you sit in the very first or last car, you can get a cool view of the train tracks.
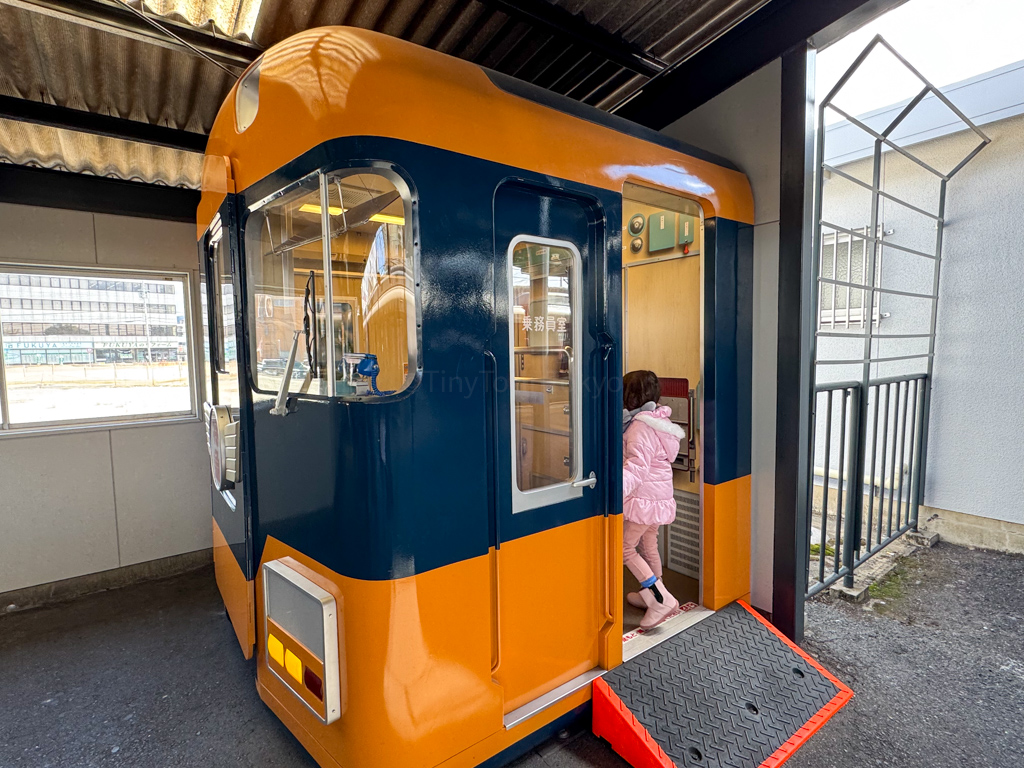
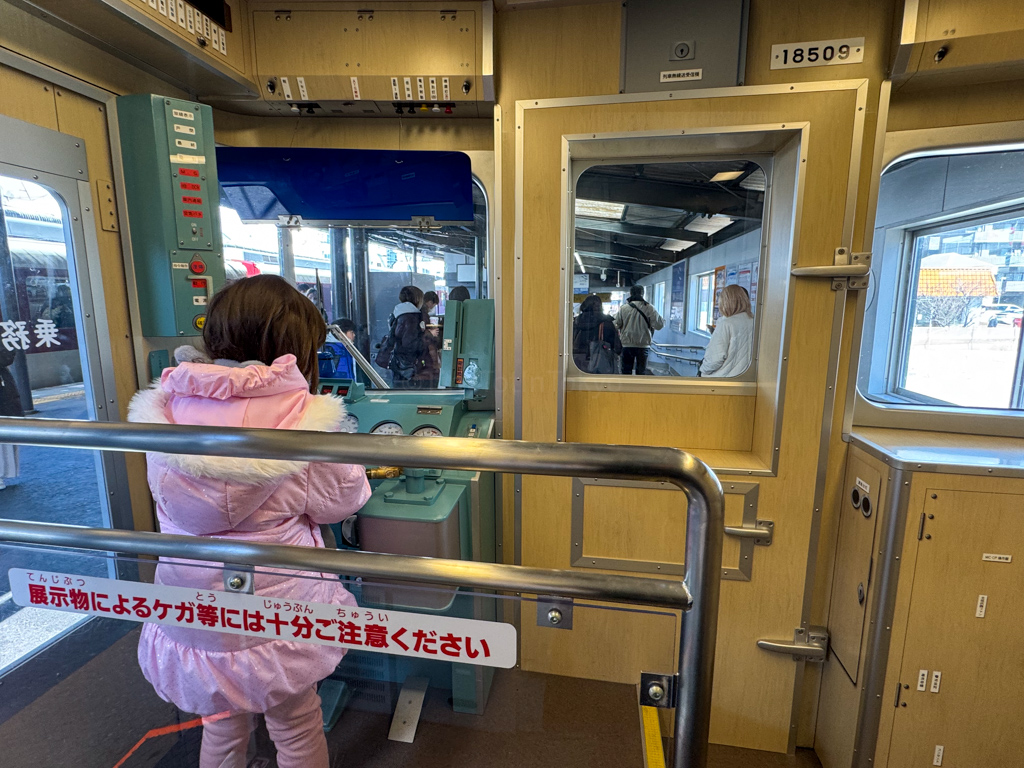
When you get off at Ogura Station, make sure not to miss the train display — my daughter absolutely loved going inside and pretending she was driving a train.
If you have some time before or after the Nintendo Museum, I suggest visiting Byodoin, which is one of the most famous temples in Japan as it’s on the 10 yen coin. This is one stop by train from the Nintendo Museum. Give yourself at least an hour including transport time.
Entering the Nintendo Museum
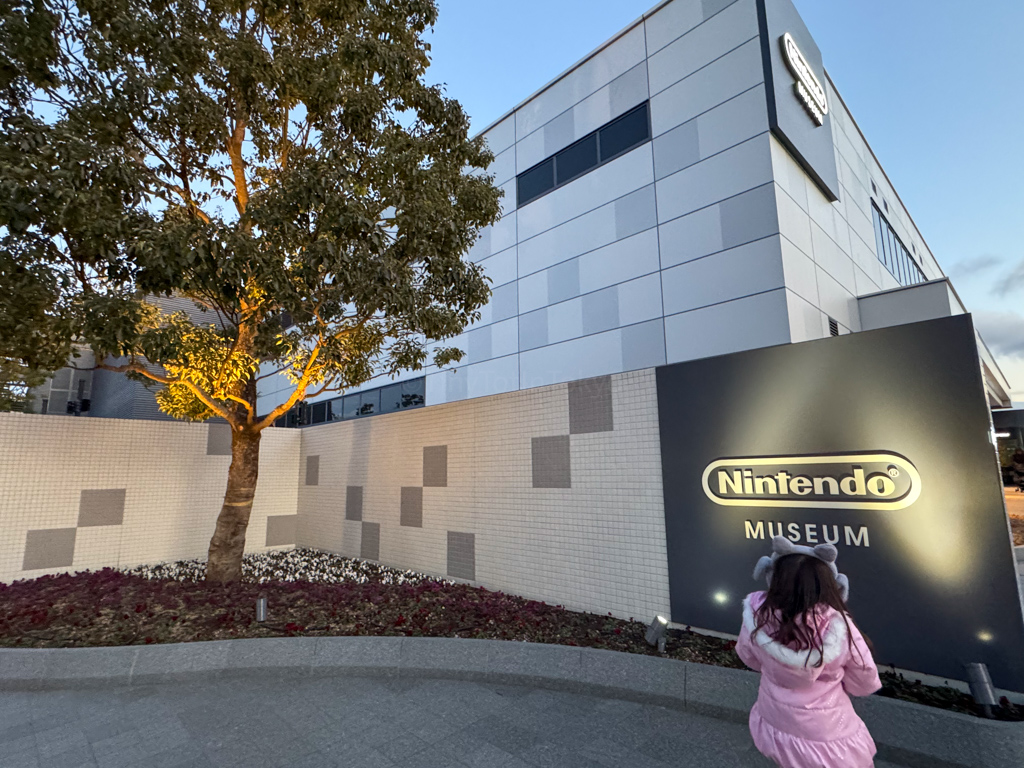
The museum is quite close to Ogura Station. Google Maps states that it takes 9 minutes on foot but for some reason, it felt much faster than that — maybe because my daughter and I were super excited?
We arrived at the museum at 12:40. I had to pull up the QR Code for my ticket (my daughter was five at the time so she was free) and show ID for myself and my daughter. So make sure you have your passports, Residence Cards, or My Number cards on you!
If you need lockers, they have those outside the museum. (And check out the cute Game Boy cartridge lockers!) There is space for large suitcases as well.
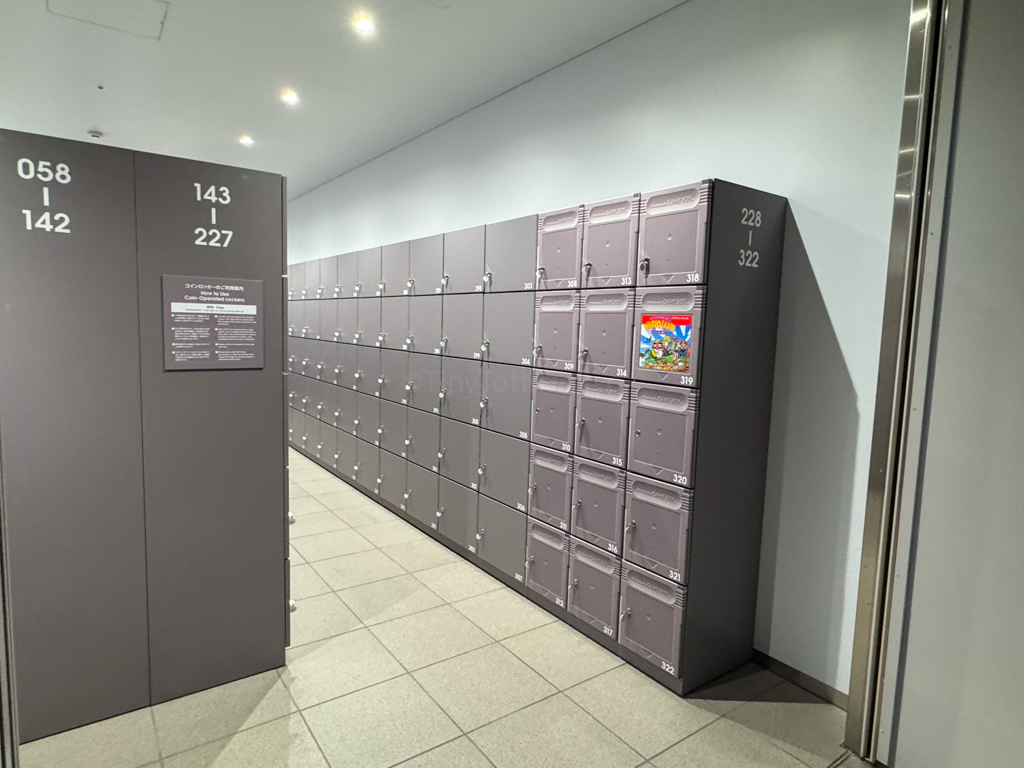
Since the waiting area is outside, I recommend keeping your jacket on if it’s cold out. Unfortunately, once you’re inside the museum, there aren’t any lockers.
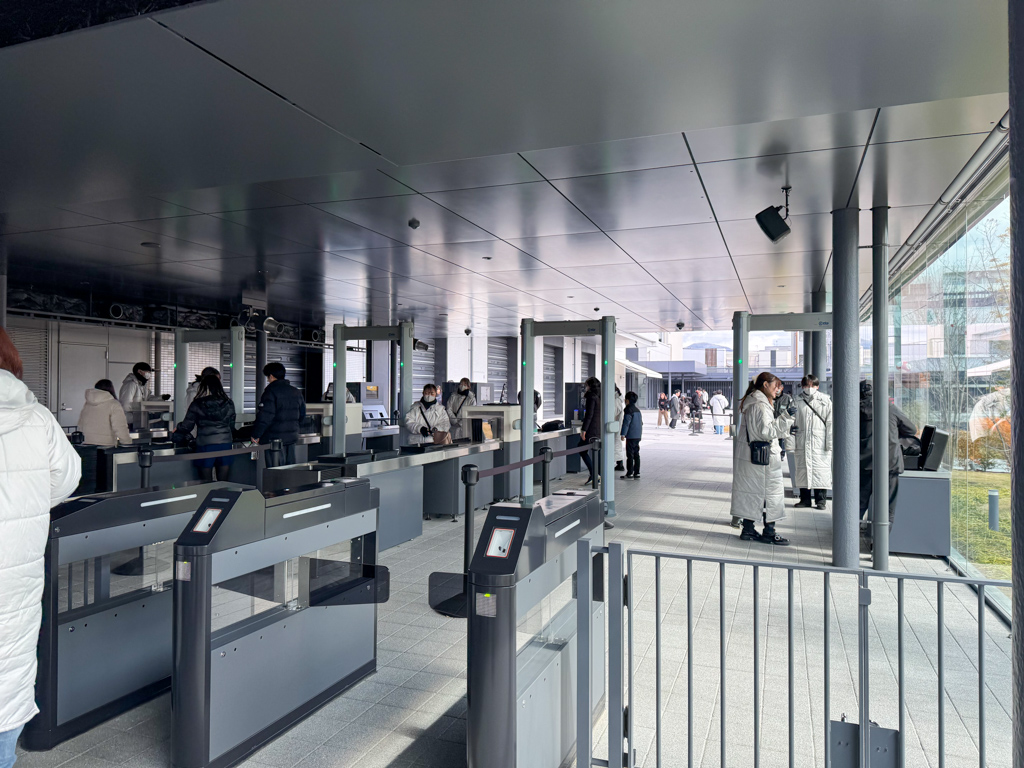
Although our ticket was for 13:00 (1:00 PM), they started letting everyone in my group in at 12:45 PM. There were already people waiting when my daughter and I arrived but the line moved very quickly and smoothly.
We had to do a baggage screening, which was fast, and then one of the staff members scanned my QR Code.
They handed me a card, which would be my Play Ticket. You can add your own Mii to your ticket before you arrive at the museum but I decided I didn’t want to do that.
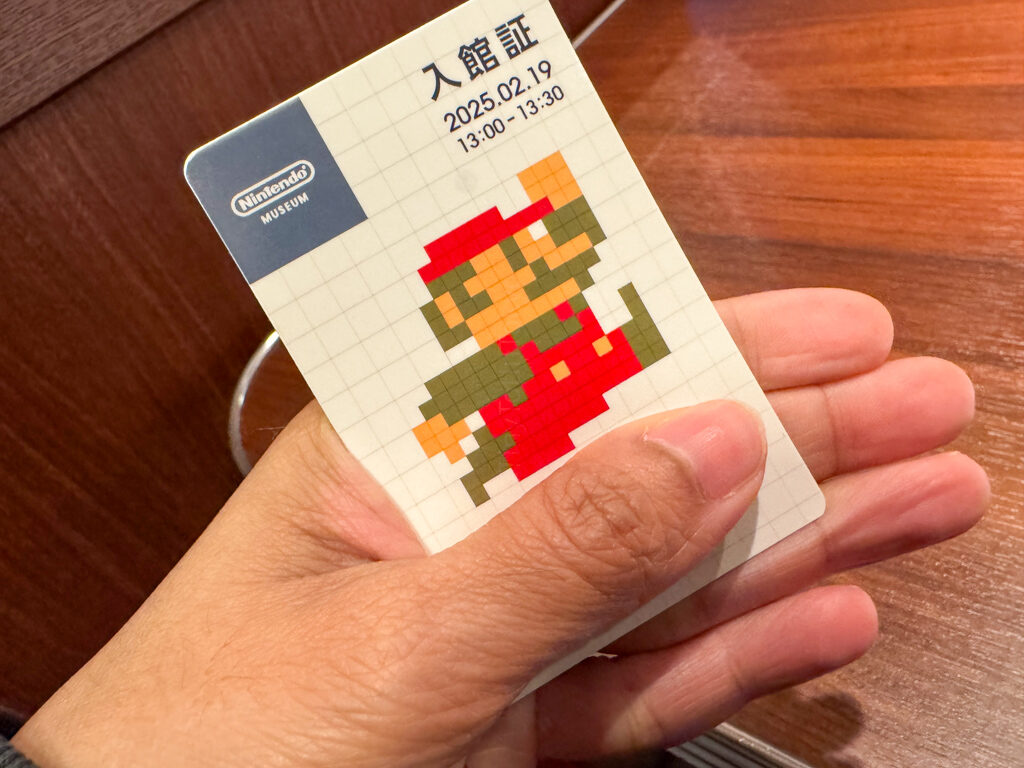
This Play Ticket is important so do not lose it and keep it in a spot that’s easy to reach! It contains 10 coins that you can use for games (interactive exhibits). You can also check your scores or pictures, although I couldn’t quite figure out how to do this.
If you come with a child who’s five and under, they won’t receive a Play Ticket. Instead, they’ll get four of the cards pictured below, which they can exchange for certain games. I’ll cover the games later on.
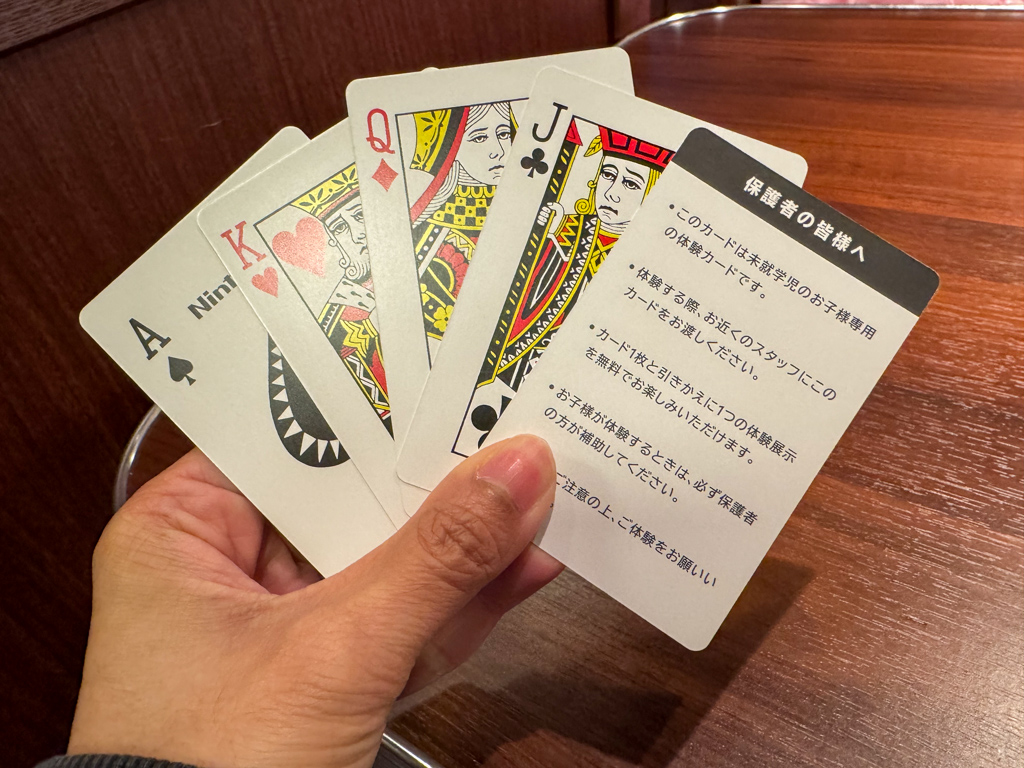
It was a little annoying to carry these cards around and next time I’ll make sure to have a small pouch for them.
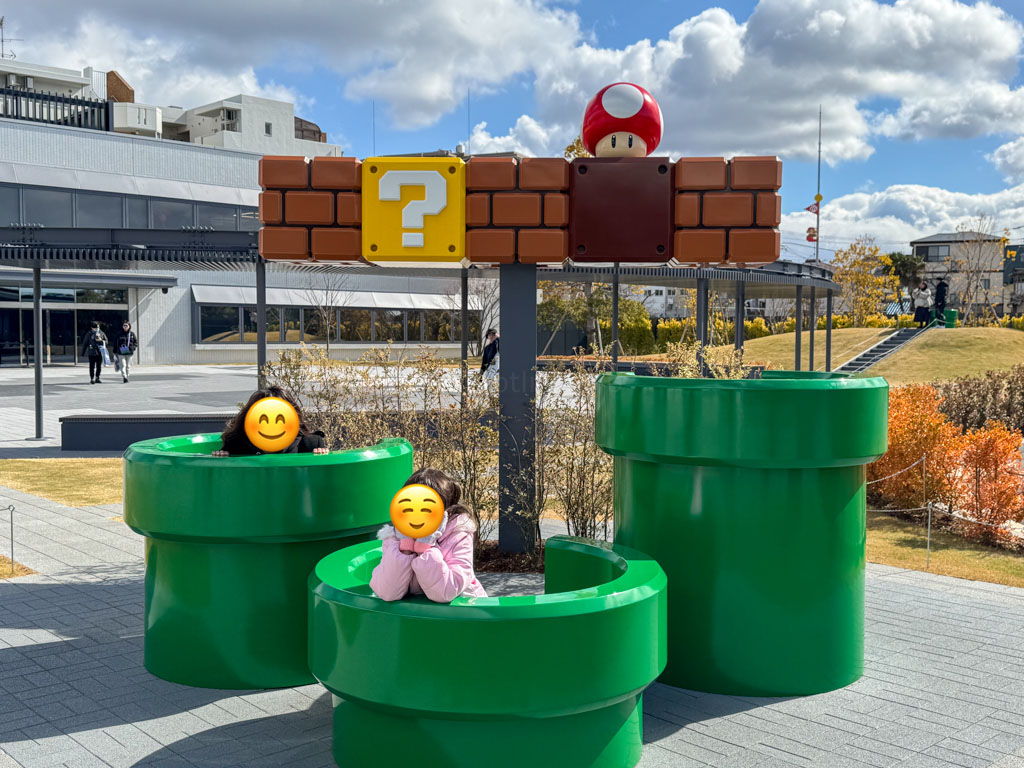
Before you go to the Nintendo Museum buildings, make sure to take a commemorative photo with Super Mario World’s iconic green pipe and blocks. The staff will use your phone to take several photos of you with your family and best of all, it’s free!
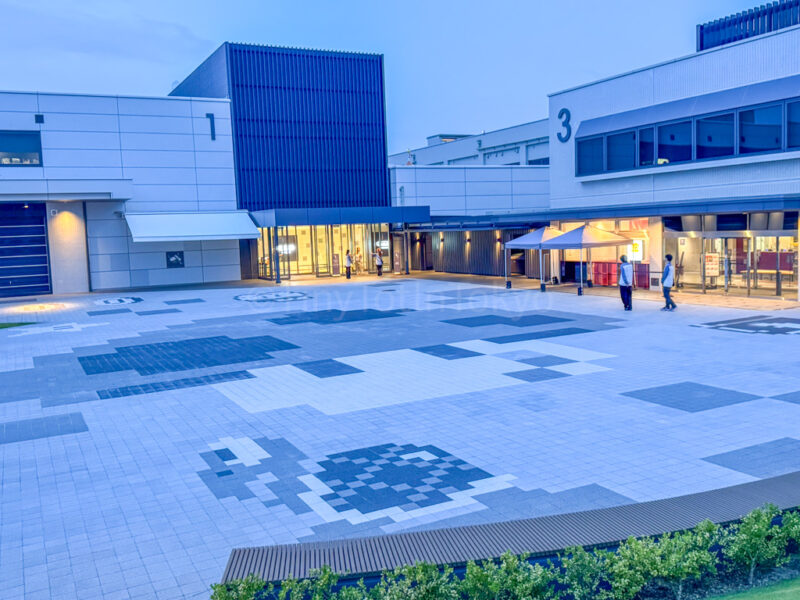
There are two buildings for the Nintendo Museum, Exhibition Building 1 and Exhibition Building 2.
The first building (to your left) is the main building, which contains all of Nintendo’s products (2nd floor), the souvenir shop, and games you can play using coins on your Play Ticket or your child’s cards.
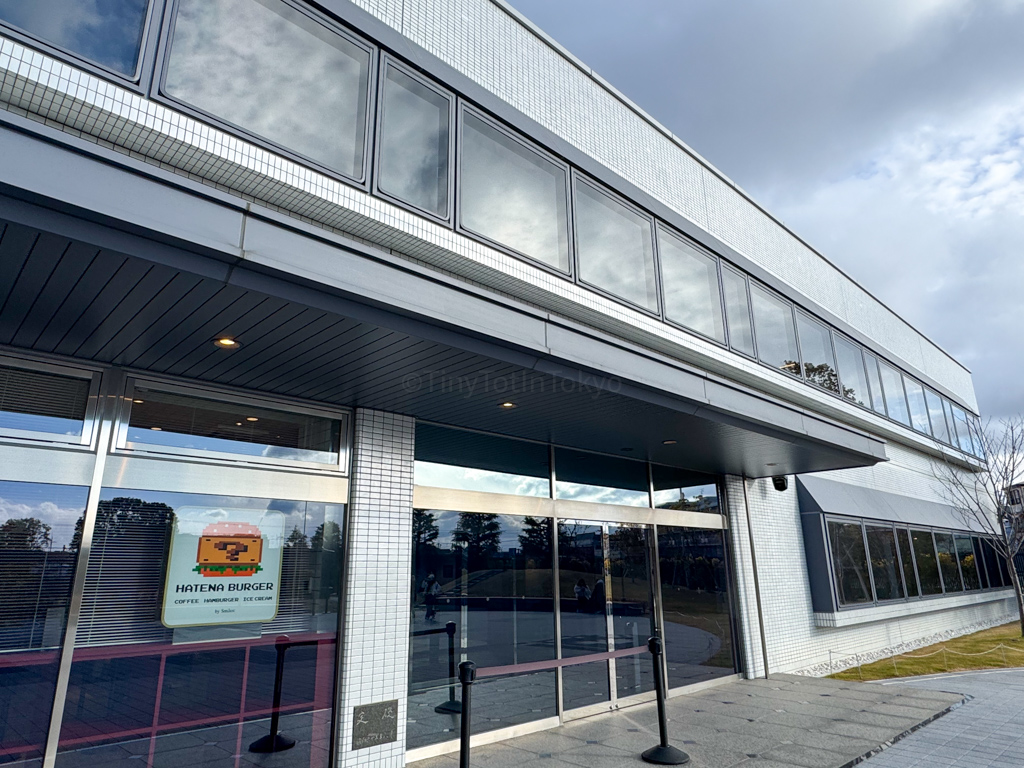
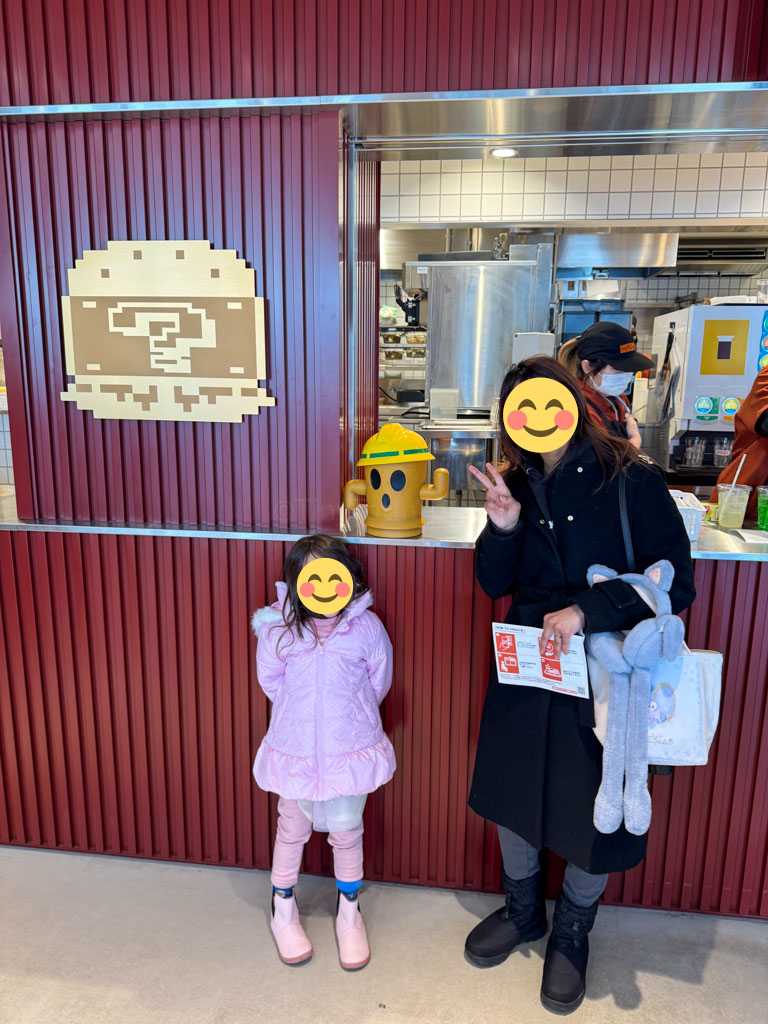
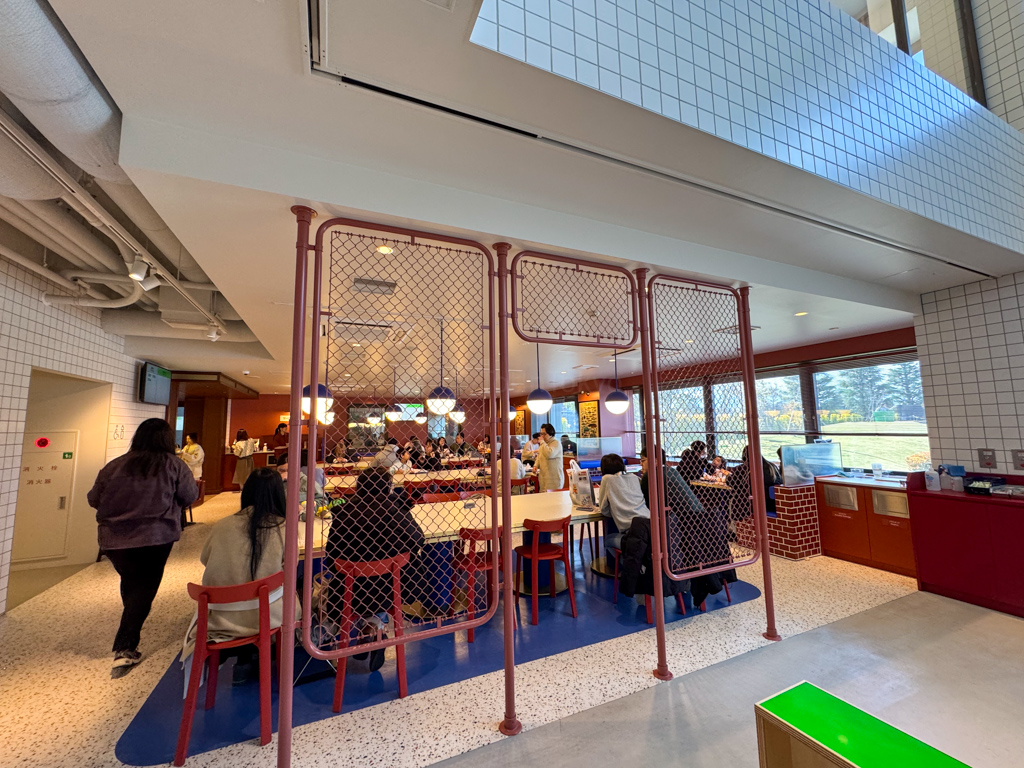
The second museum (directly in front of you and pictured below) contains the Hatena Burger on the first floor and Hanafuda workshops on the second floor.
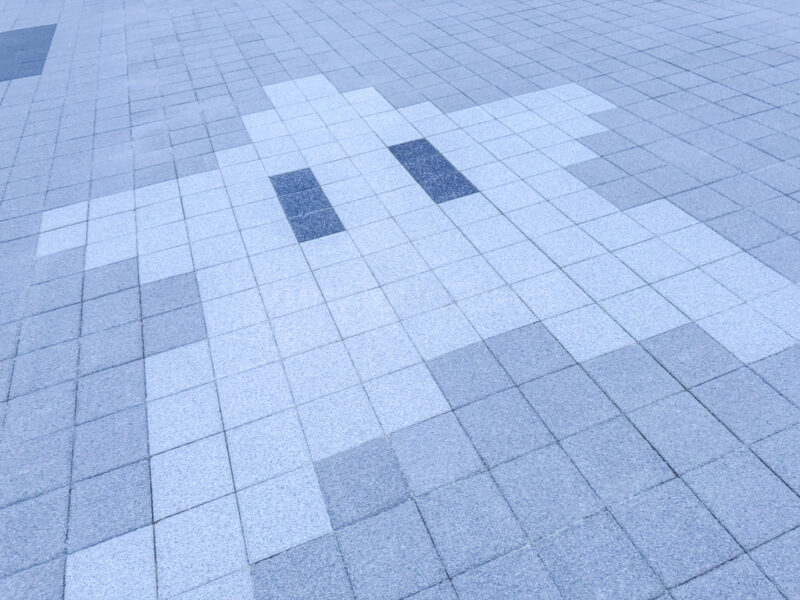
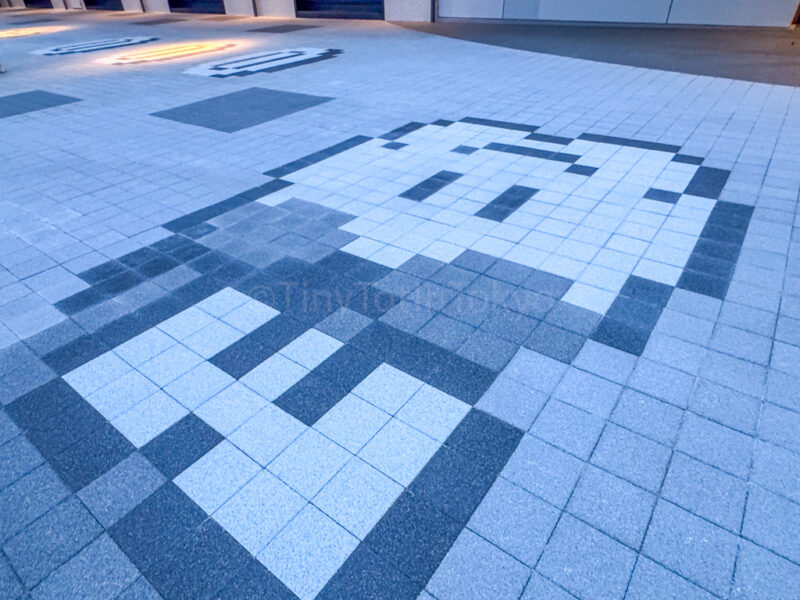
Make sure not to miss the cute Super Mario characters on the floor outside!
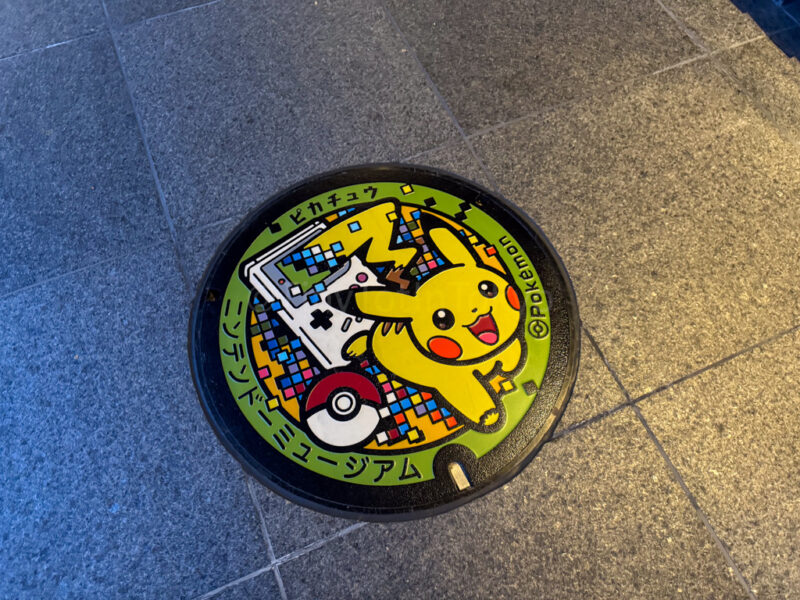
There is also a Pikachu manhole:
As well as a Kirby vending machine:

Nintendo Museum Restaurant: Hatena Burger
Hatena means question mark in Japanese, and you’ll see that Super Mario’s super famous Question Block is on the logo for this restaurant, nicely in between two buns to make a burger.
We decided to have a late lunch here first before seeing the rest of the museum. I was worried it would be crowded because the website said it’s crowded around lunch time but that wasn’t the case at all.
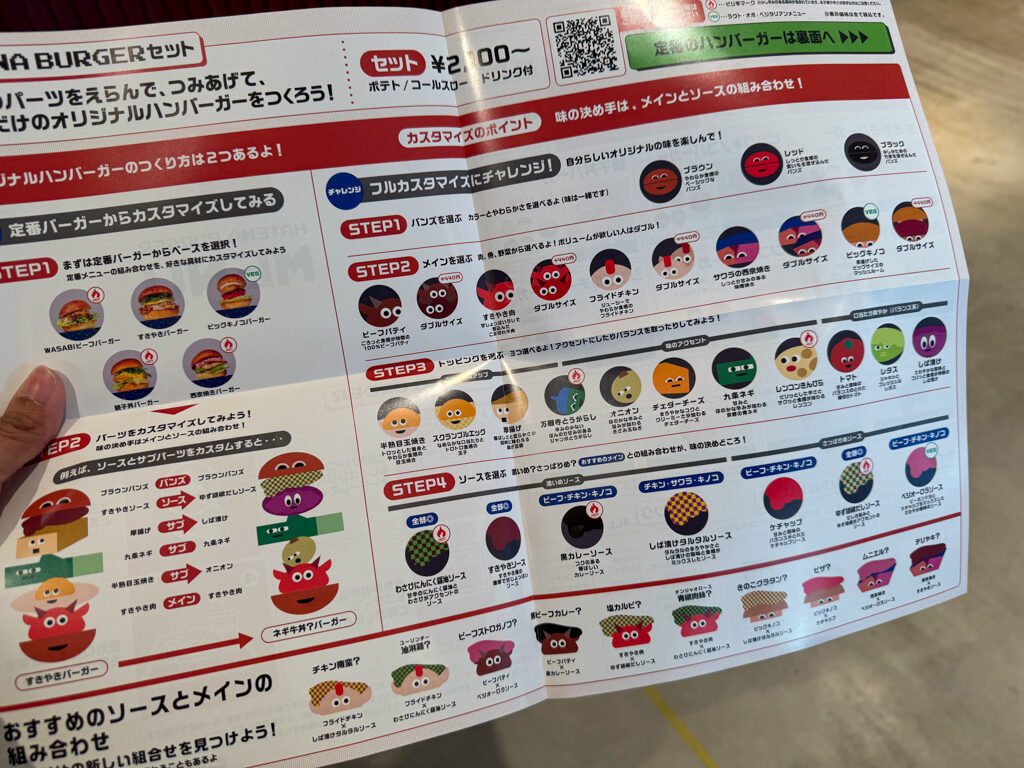
You’ll be given a QR Code by the staff and either an English or Japanese menu. You need to order from the website that appears after scanning the QR code on your phone, but thankfully you can pay at the register.
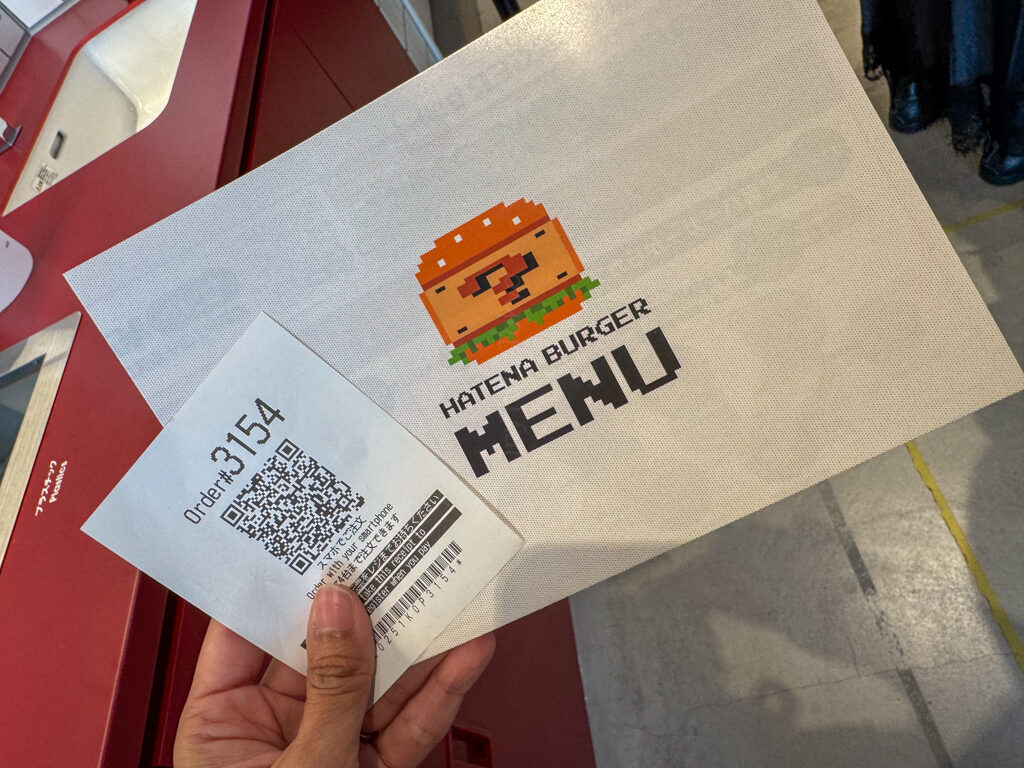
This helped the time waiting in line go by super fast because by the time I was done, I was next in line!
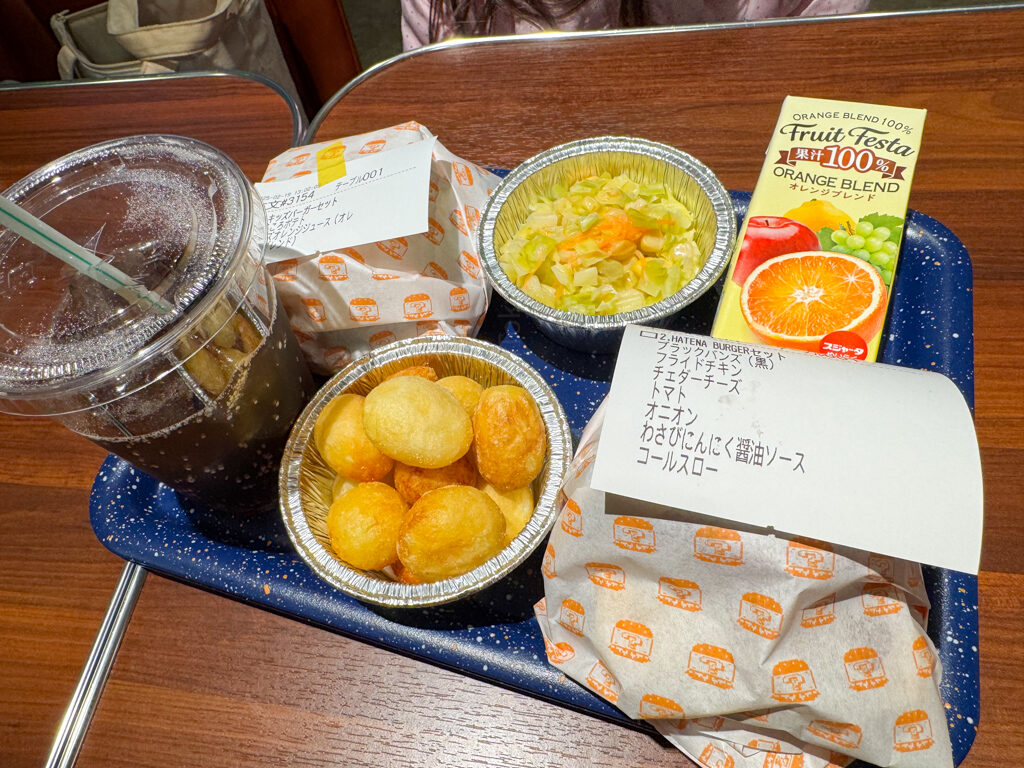
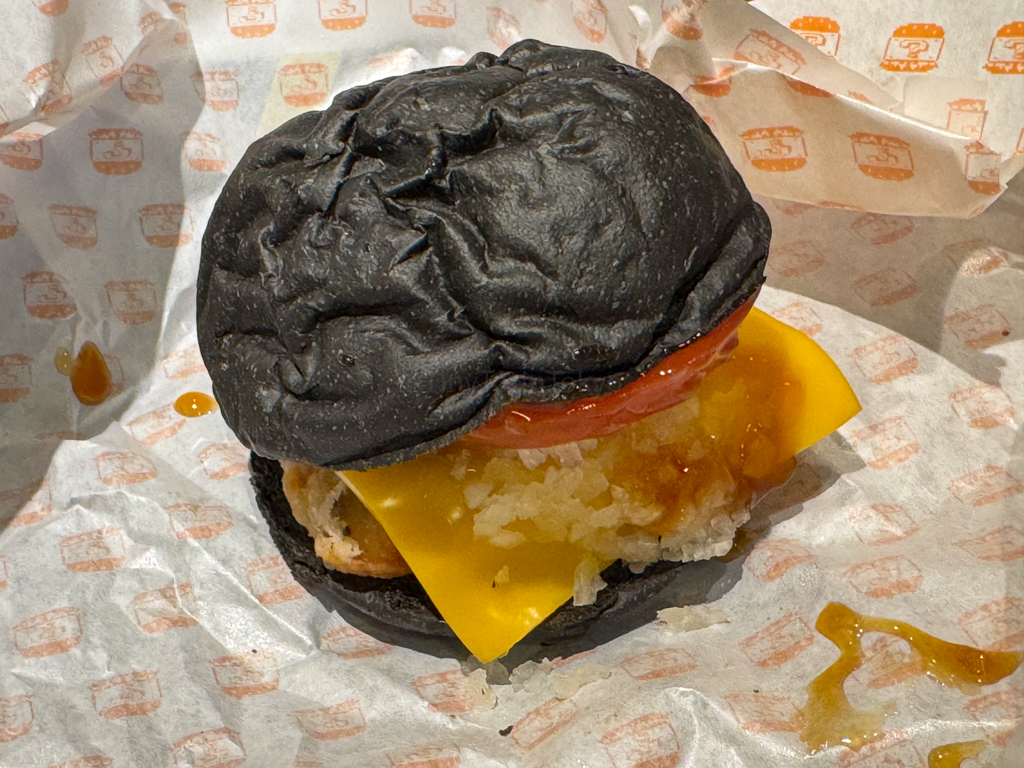
I made my own Hatenda burger and chose a black bun, fried chicken patty, cheese, mushrooms, onions, and citrus pepper dashi sauce with coleslaw as a side.
For my daughter, I got a kid’s burger set.
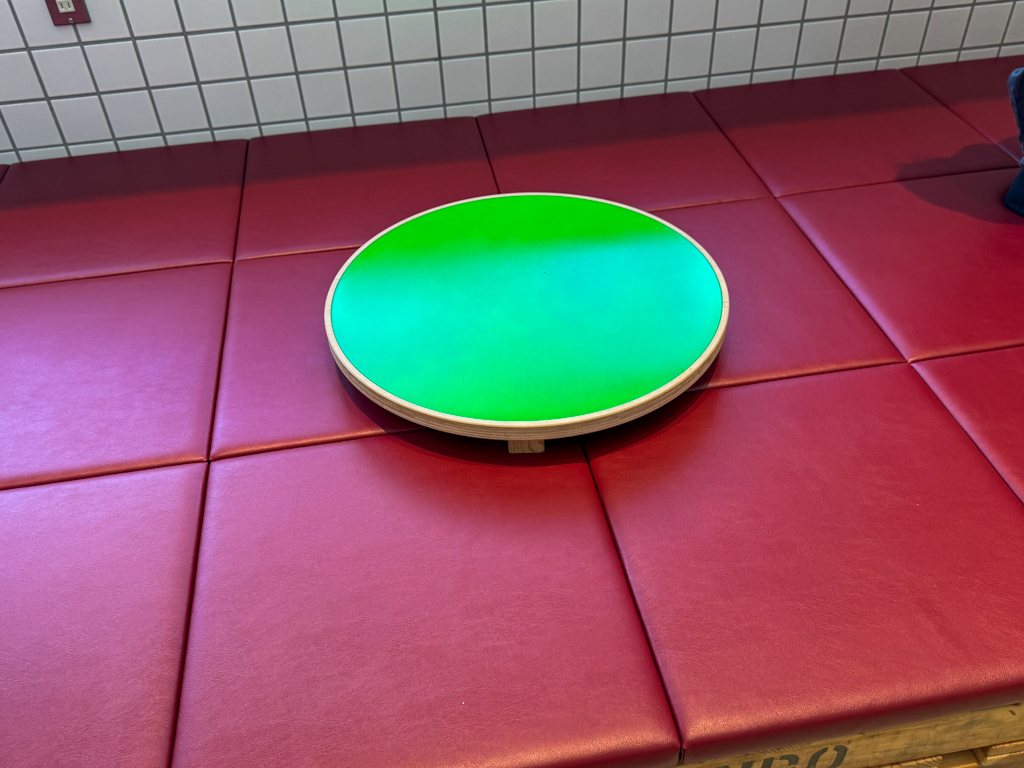
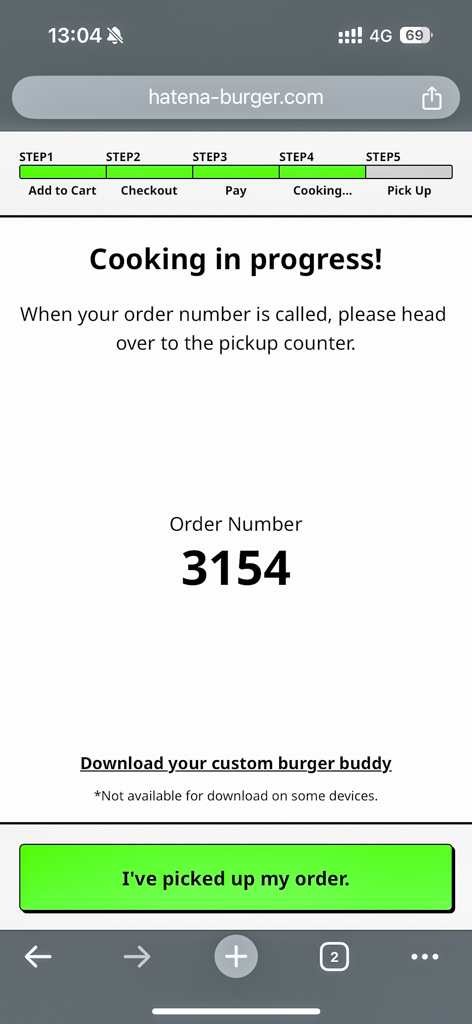
After paying, I received a ticket number for my order. The staff then took a photo of us and then helped us find a seat.
There is tatami-like seating as well that looks perfect for those with younger children!
I was pleased to see there were lots of screens showing when each order was ready, so I could stay seated with my daughter instead of standing and waiting.
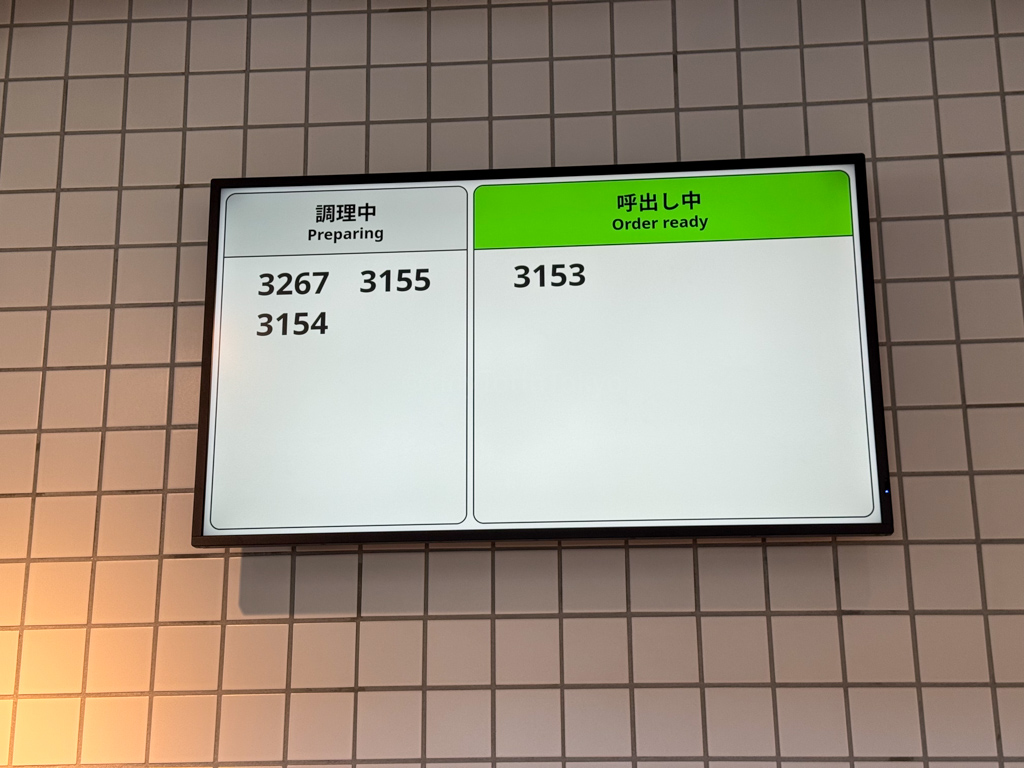
You’ll also get a notification about your order on your smartphone.
After getting my order, which was ready very quickly, my first impression was that this felt like eating at a food court. And the taste was pretty much the same.
Black burger buns are on the harder side since they contain charcoal powder but it just didn’t taste fresh. The fried chicken patty wasn’t bad, about the same quality as KFC. It was an okay burger but the poor-quality buns took it down a notch.
My daughter’s hamburger was very disappointing. She ate about half and when I took a bite, I could see why. It didn’t taste good and was honestly one of the most disappointing hamburgers I’ve ever had!
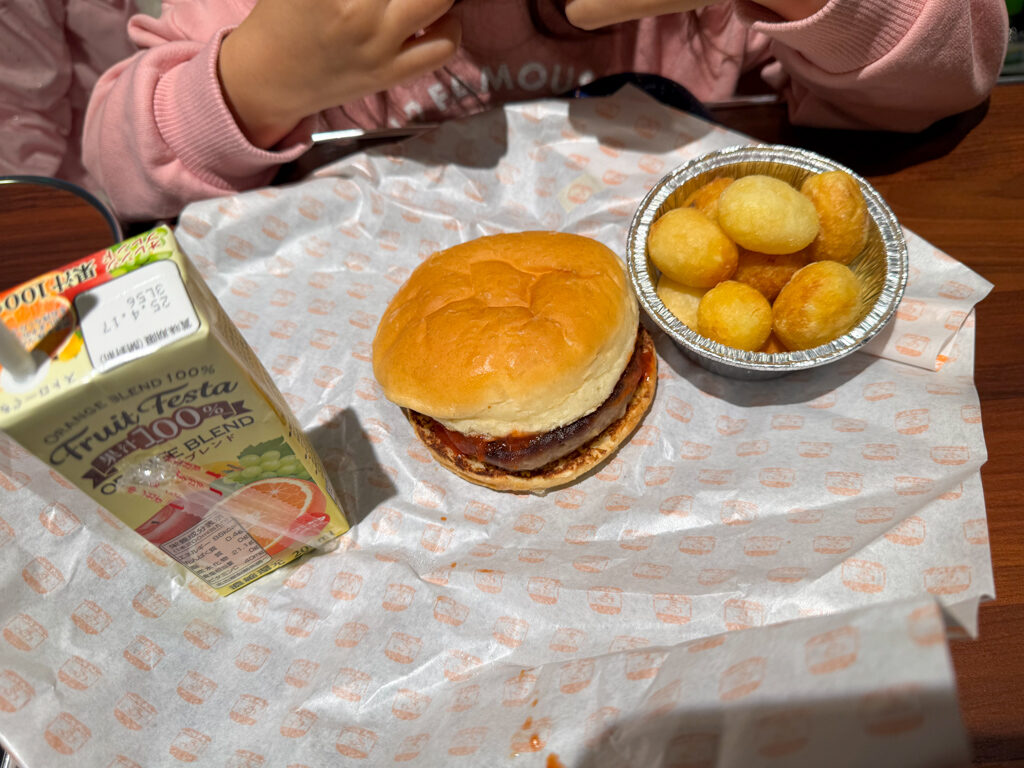
The coro-coro potato fries that came with my daughter’s meal were good. Nothing mind-blowing but far better than the hamburger!
So based on our experience, I wouldn’t recommend eating at Hatena Burger unless you really want to see what it’s like.
The inside of the restaurant is pretty basic, so I don’t think it’s worth it. It’s nothing close to Kinopio’s Cafe at Universal Studios Japan (and the food at USJ is much better).
We spent about 30 minutes in total at Hatena Burger.
Hanafuda Workshops
The Hanafuda workshops are located on the second floor of the same building as Hatena Burger. There are limited time slots for these workshops, so I wanted to go before heading to the main building and seeing the exhibits. You can see a schedule for available times at the entrance of Hatena Burger and at the workshop reception desk on the second floor.
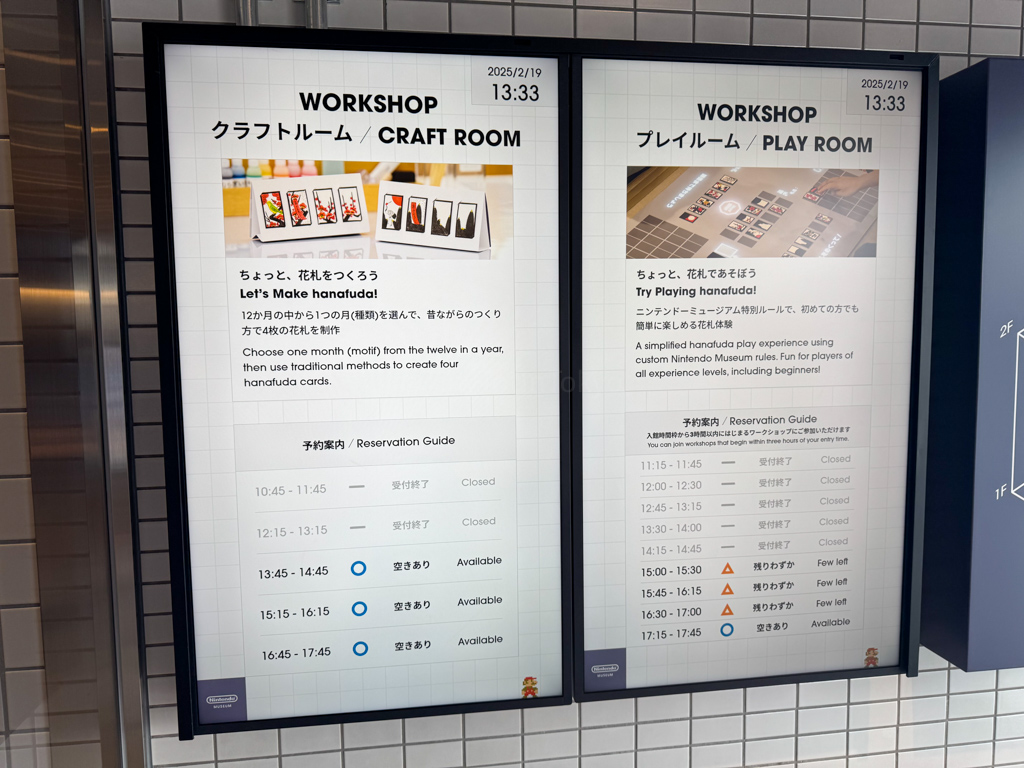
There are two workshops — one where you can paint your own Hanafuda cards (Craft Room) and another where you can play Hanafuda (Play Room).
For those who may not know, Nintendo started out making Hanafuda cards. These are playing cards with seasonal themes, such as flowers and animals, on them that represent each month of the year. You want to match cards of the same theme to get points. Some themes have higher points than others.
I asked my daughter if she wanted to do both workshops and she said yes. I also confirmed with the staff whether my daughter could participate given her age, and they said she could do the Craft Room but not the Play Room since she didn’t have a Play Ticket. However, I could play and she could observe.
We were able to secure a spot for the Craft Room right away and for the Play Room soon after.
Note that the Craft Room is a one-hour commitment and costs 2000 yen per person. Since only my daughter was doing it and I was her guardian, I only had to pay for her.
The Play Room is 40 minutes and costs 500 yen.
Craft Room Experience
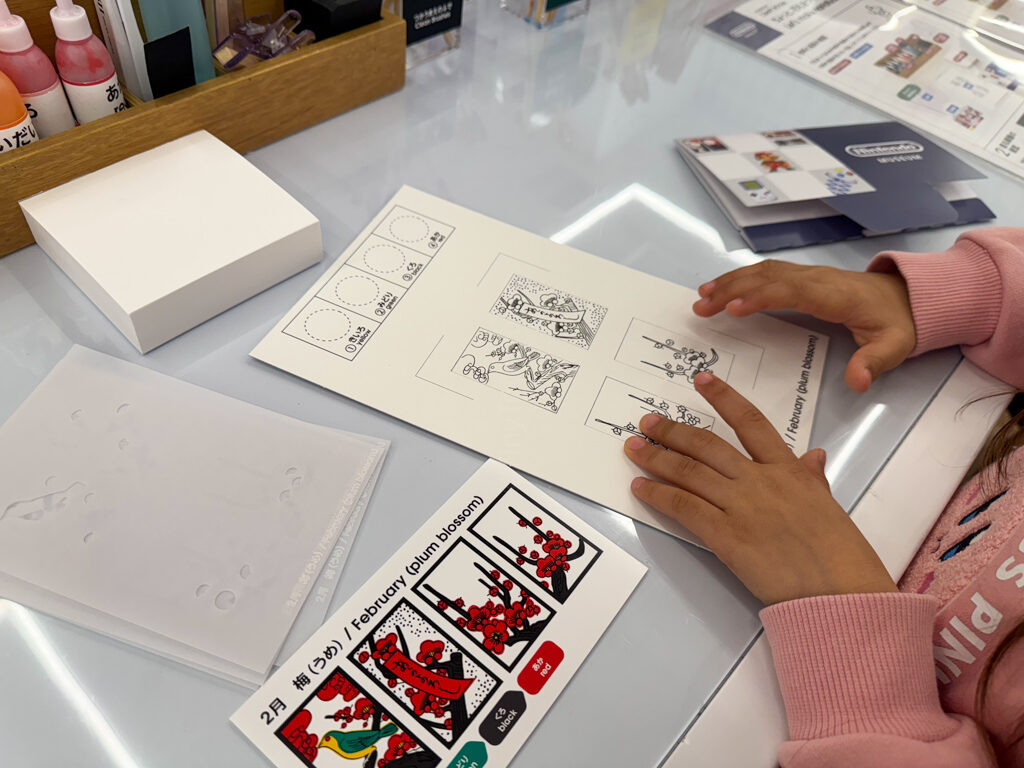
My daughter got to select one set of black and white Hanafuda cards from the twelve months of the year. She went with February because one of the cards has a bird on it and my aunt, who had recently passed away, said she would come back as a bird.
The Hanafuda set contains the following:
We were seated at a table that had paints, brushes, and paper. The brushes are shared with the person sitting next to you.
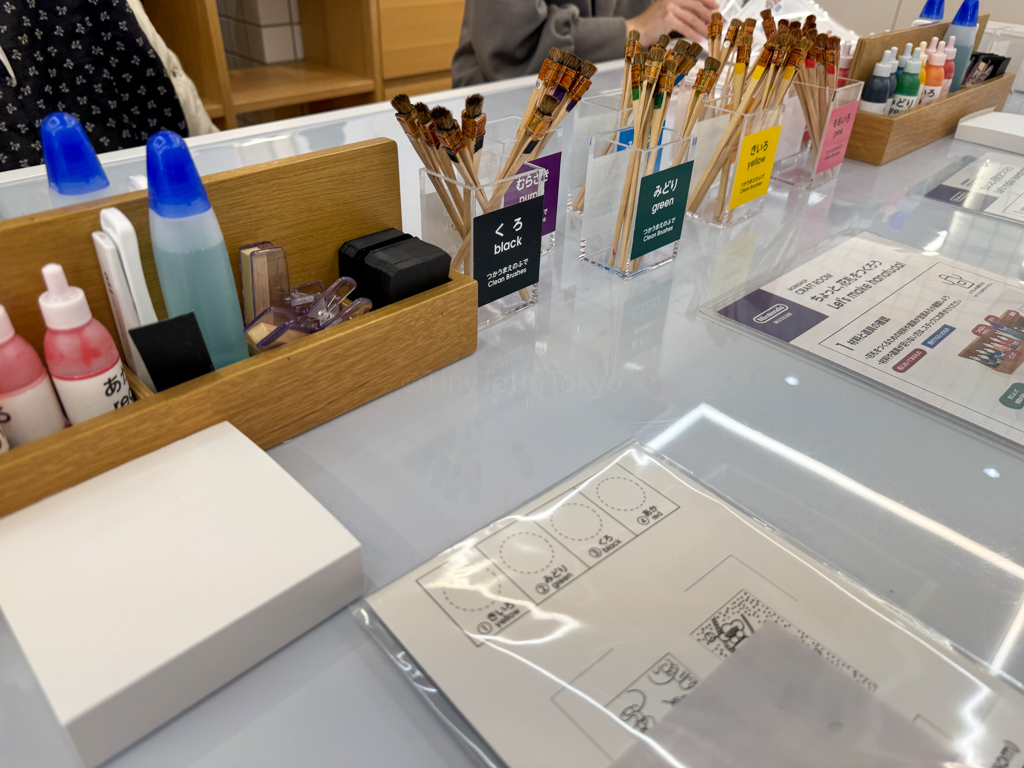
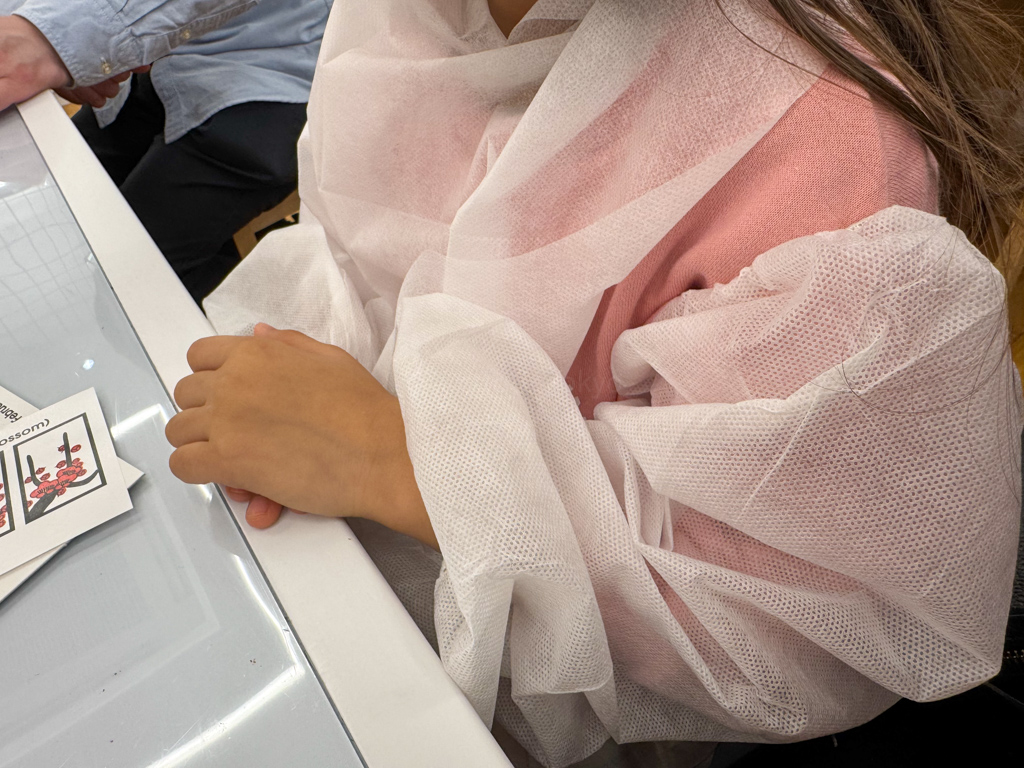
My daughter was provided with free sleeve protectors and a bib to ensure that her clothes wouldn’t get stained, which I appreciated. Adults can use these, too!
There’s an instruction card on the table in Japanese but if you need one in English, ask any of the staff and they’ll provide you with one.
Before we got started, the staff gave a brief explanation in Japanese about what we had to do. It was quite easy so I think preschoolers like my daughter shouldn’t have any trouble!
Make sure not to pop the cards out of the frames! (My daughter was too excited and accidentally did this.)
There are numbered stencils that you can place on the cards. If you have a younger child, the staff will tape the stencil to the cards for you so it doesn’t move.
Then all you and/or your child need to do is paint over the stencil according to the appropriate color. But you can also use any color you like!
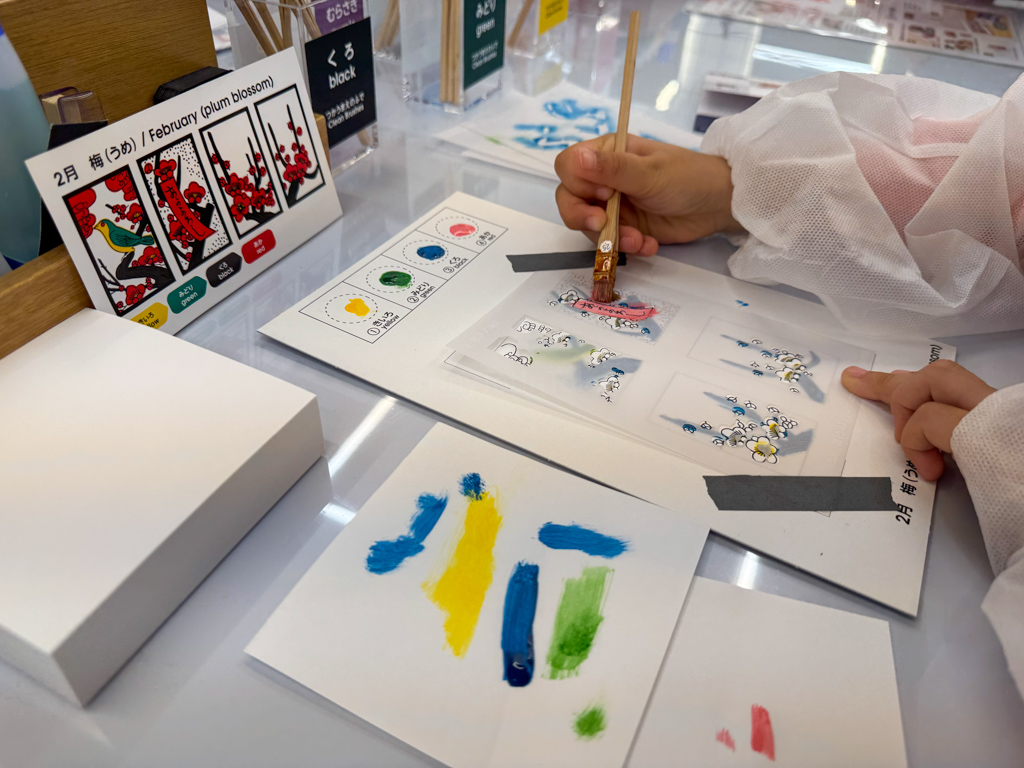
I had to help my daughter sometimes, especially near the end when we had to glue each Hanafuda card to a piece of black paper, but it was still a fun activity for both of us!
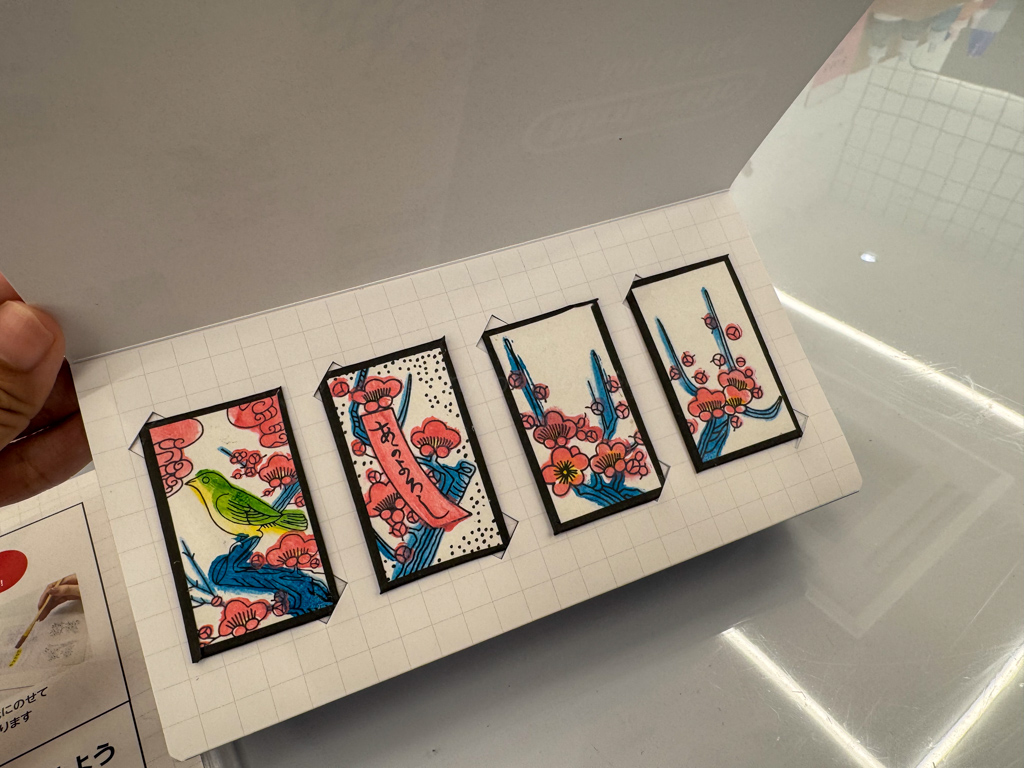
Best of all, my daughter had a great handmade souvenir that she could take home to commemorate her visit to the Nintendo Museum!
What do you think of her artwork? I might be a bit biased but I believe she did an amazing job!
Play Room Experience
Despite having lived in Japan for over fifteen years, I had never played Hanafuda before. (And surprisingly, my Japanese husband, who was born and raised in Japan, also hasn’t ever played Hanafuda!)
This is why I wasn’t sure what to expect with this experience but it was great, and I highly recommend doing this because even my daughter was able to play!
(Also, make sure to look up when you’re on the second floor and waiting to get into the Play Room. Someone’s adorable, fluffy tail will greet you!)
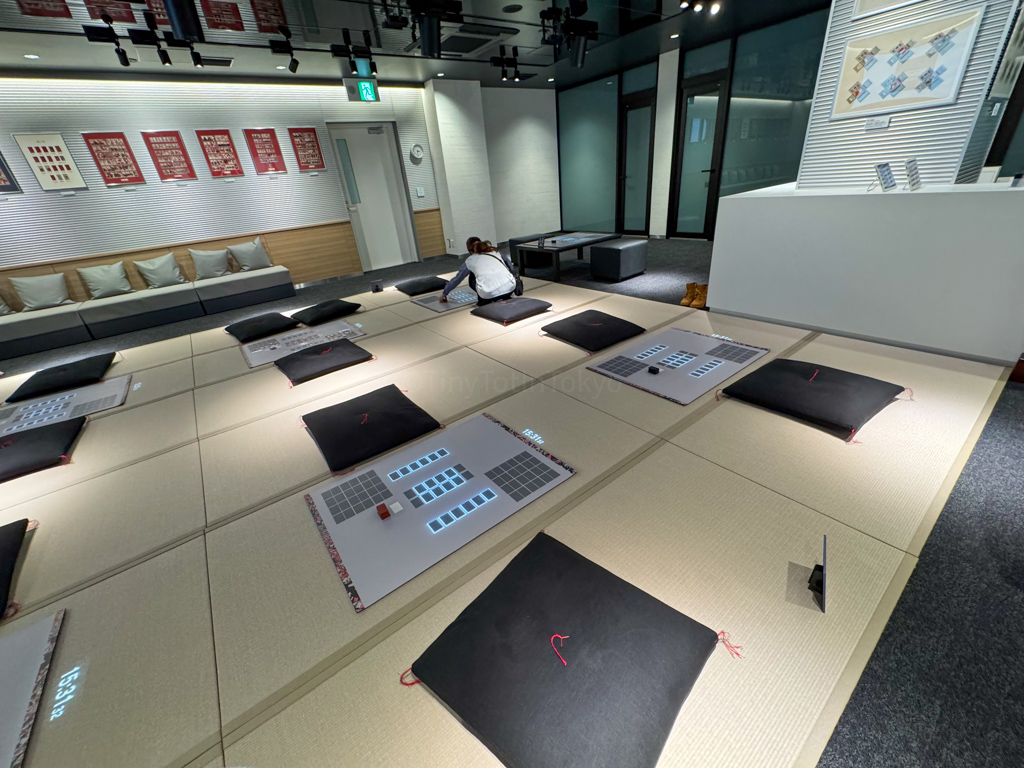
I loved the inside of the Play Room, which had Japanese-style seating on tatami mats and zabuton pillows. Make sure you wear shoes that are easy to remove because you’ll have to take them off!
Since we only paid for one person, we got paired with another visitor to the Nintendo Museum. He was really nice, though (an uncle who came with his sibling and their kids), and we had a fun time playing.
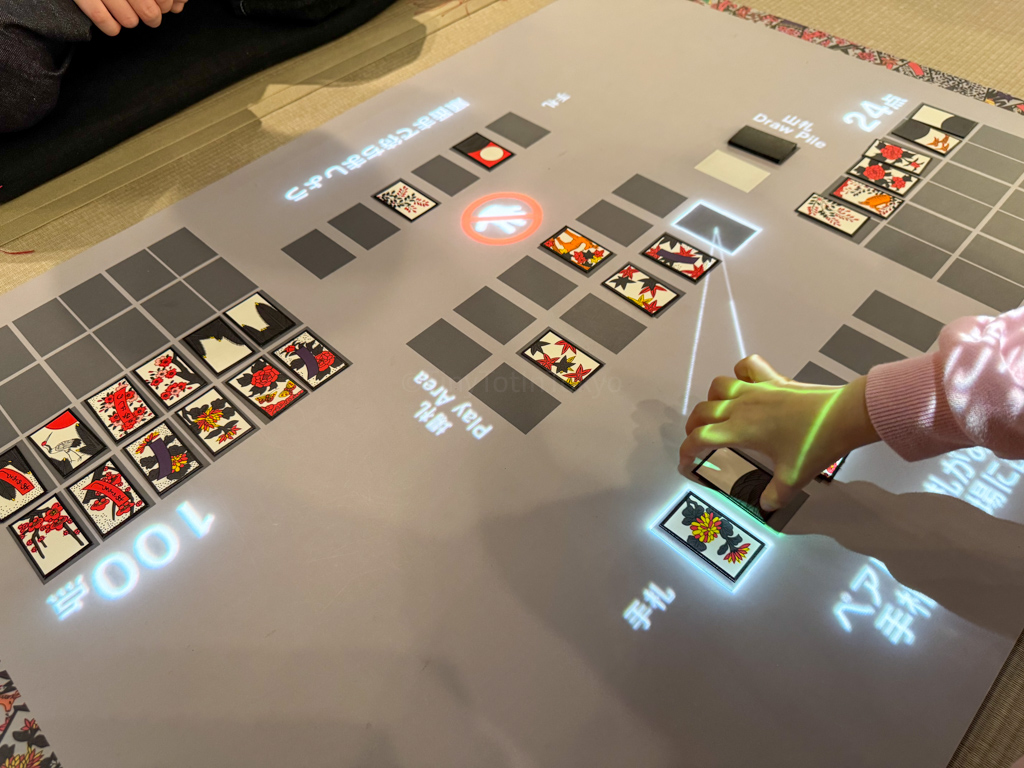
Before you begin, you’ll receive instructions on how to play by watching a video on a large screen. The video has English subtitles and it’s very easy to understand!
The Hanafuda board gives you suggestions on where to move your card and how to obtain the most points, so even my daughter was able to play! My daughter and I took turns and played for about thirty minutes.
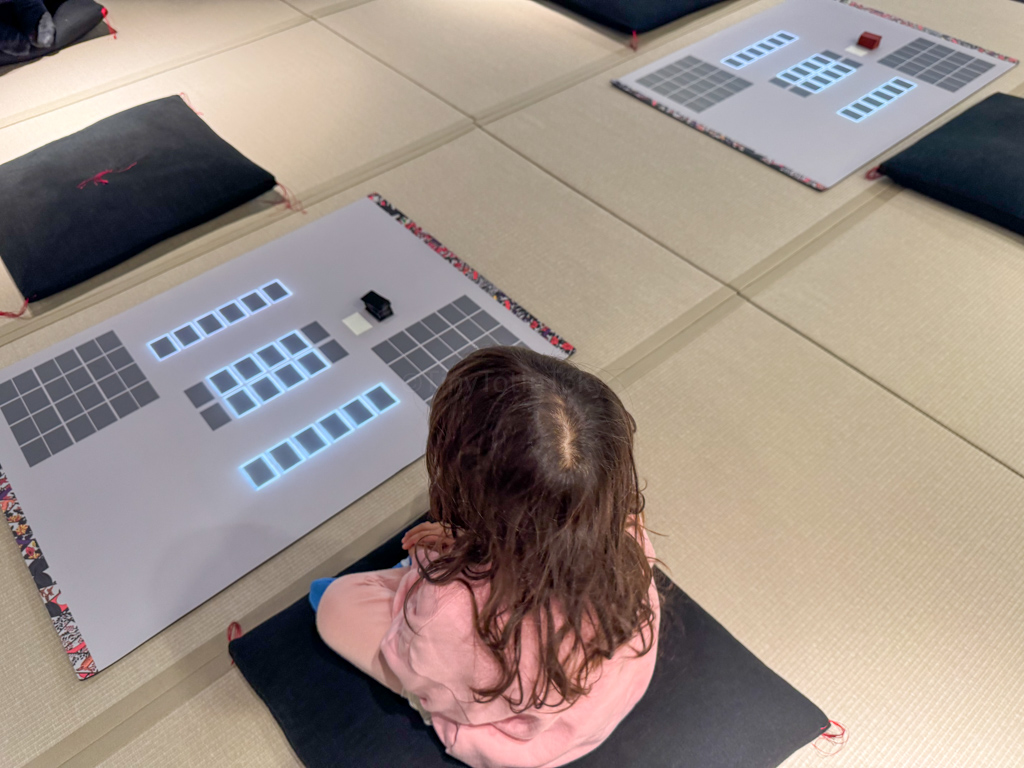
(Don’t mind my daughter’s hair, she hates tying it and likes letting it run wild!)
You don’t get anything if you win, it’s all just for fun. And now I want that digital Hanafuda board!
When we went a second time, my husband partook in the game with our daughter, and he really enjoyed it! This came as a surprise because my husband likes to say things like this are “lame,” so I’m glad I was right to insist that he try this out.
Entering the Main Building
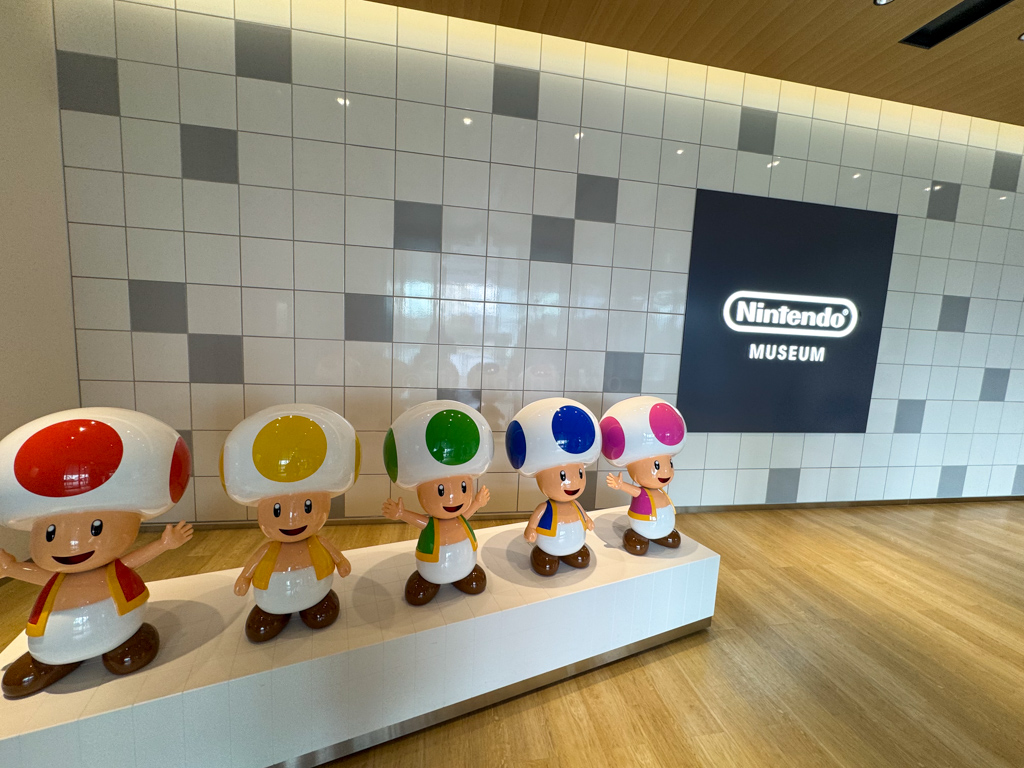
After we finished the Play Room experience in Exhibition Building 2 at 3:30 PM, we headed to Exhibition Building 1. Don’t forget to tap on all the Kinopio heads at the entrance because they’ll make a sound!
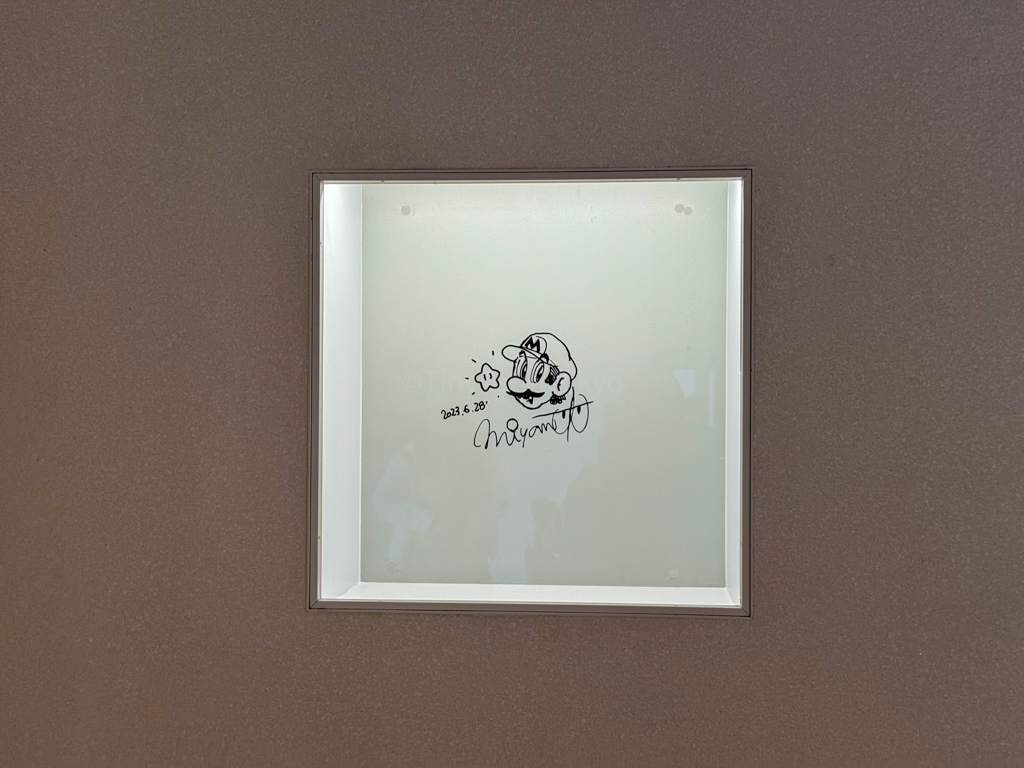
There’s also Miyamoto’s drawing of Mario and his signature! (For those who don’t know, he’s one of the head honchos at Nintendo and designed Mario Brothers as well as Donkey Kong.)
I heard that some souvenirs sell out so I decided to go to the souvenir store, Bonus Stage, first before seeing the rest of the museum. (The souvenir shop also only accepts visitors until 5:30 PM).
To find out everything you need to know about the souvenir store at the Nintendo Museum, read this article.
Play Experiences
As mentioned at the beginning of the article, everyone visiting the Nintendo Museum (apart from preschoolers and younger) will receive a Play Ticket that contains 10 coins. These coins can be used for Play Experiences at the Nintendo Museum.
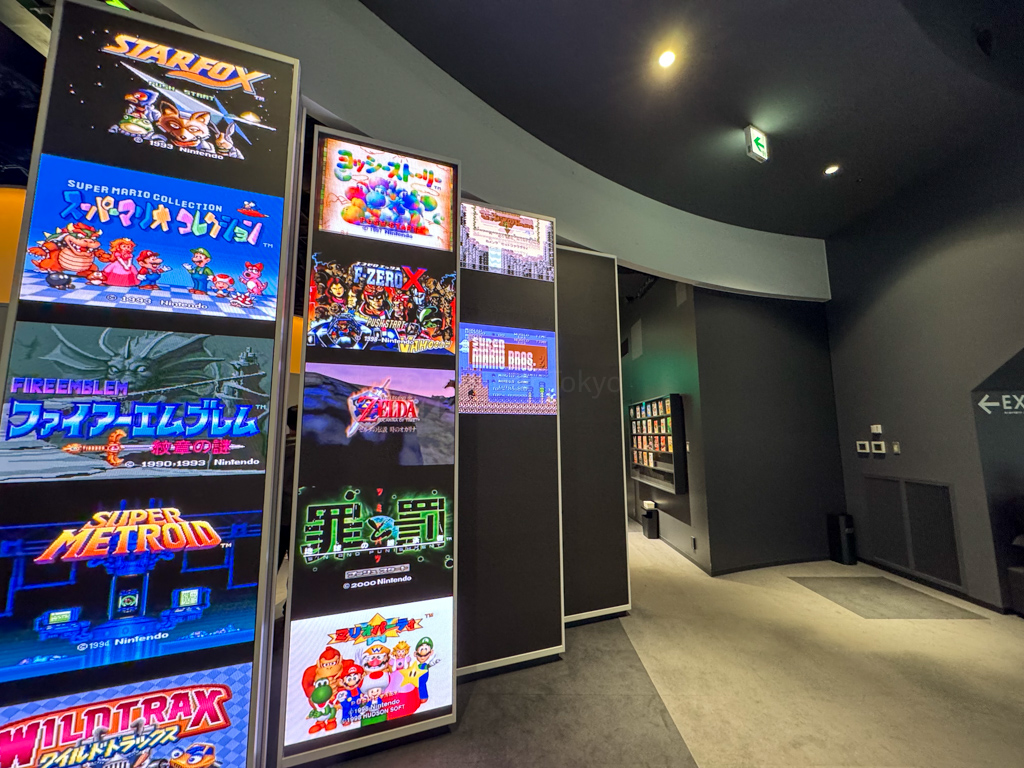
The room containing all the different Play Experiences is on the first floor of Exhibition 1. However, you’ll first be taken to the second floor via an escalator. The second floor contains various displays showing games and consoles throughout Nintendo’s history.
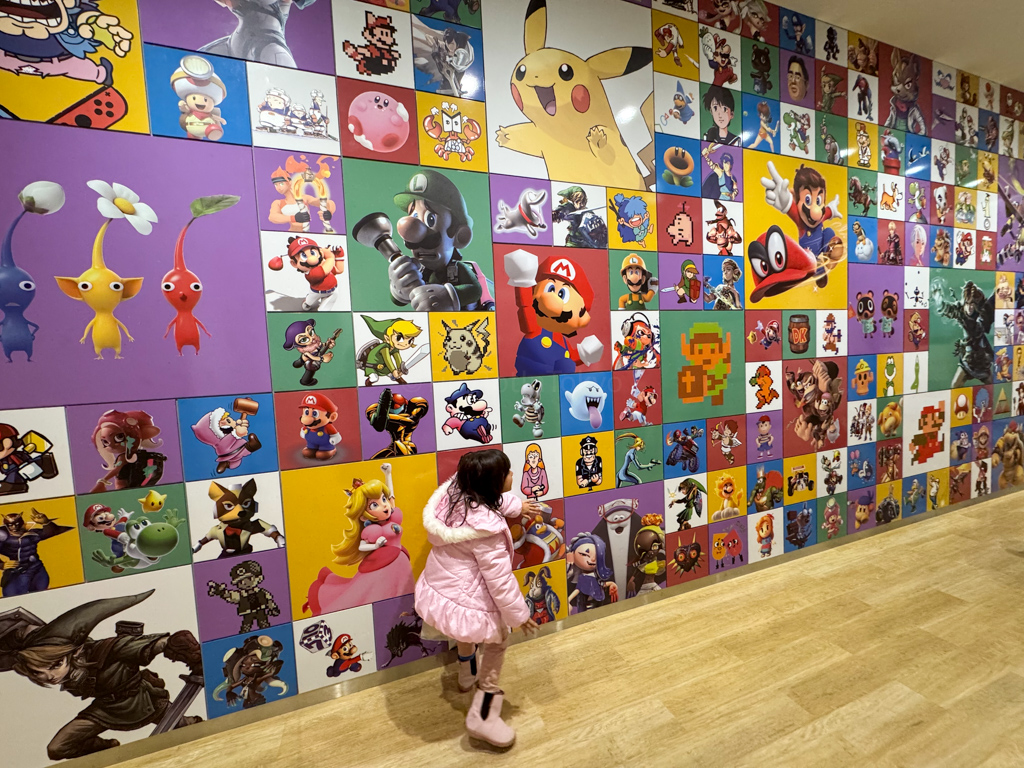
Before we lined up for the escalator, we took some pictures with this awesome background featuring almost all of Nintendo’s iconic characters. Keep in mind that you can take pictures afterward, too, and it might even be less crowded! And if you go near closing time, the staff might be able to take a picture of you and your family.
While we were waiting for the escalator, a staff member announced that the first-floor Play Experiences would get crowded later on, so they suggested we stop by there first, which we did.
I have a terrible sense of direction so it was a little difficult to find the staircase that would take us down. I think I was also overwhelmed because when I went back up after enjoying the Play Experiences, there was hardly anyone there and the staircase going down was really easy to find.
There are eight play experiences in total. Each requires a different number of coins. Children who don’t have Play Tickets but have playing cards instead have to choose one of two Play Experiences.
Playing cards are exchanged for a Play Experience. Different suits correspond to a different Play Experience, and as mentioned earlier, kids have to choose from one of two, which is kind of annoying.
Here are the Play Experiences for preschoolers and under, according to the four cards they get:
Ace of Spades Card: Zapper and Scope SP OR Big Controller
King of Hearts Card: Shigureden SP OR Love Tester SP
Queen of Diamonds Card: Ultra Machine SP OR Ultra Hand SP
Jack of Clubs Card: Game and Watch SP OR Nintendo Classics
Another annoying thing about these playing cards for little kids without a Play Ticket was trying to find a staff member to exchange the card for a Play Experience, especially for the Ultra Machine SP.
If you like, you can use your Play Ticket for your child’s Play Experience. That way they can keep their playing card and use it towards something else (or to play something they like again).
You have until 5:45 PM to try all the Play Experiences.
It took us 1.5 hours to play seven of the eight games available, so keep that in mind when planning your time at the Nintendo Museum.
If you’re not sure how many coins you have left on your Play Ticket, you can use one of these coin checker machines:
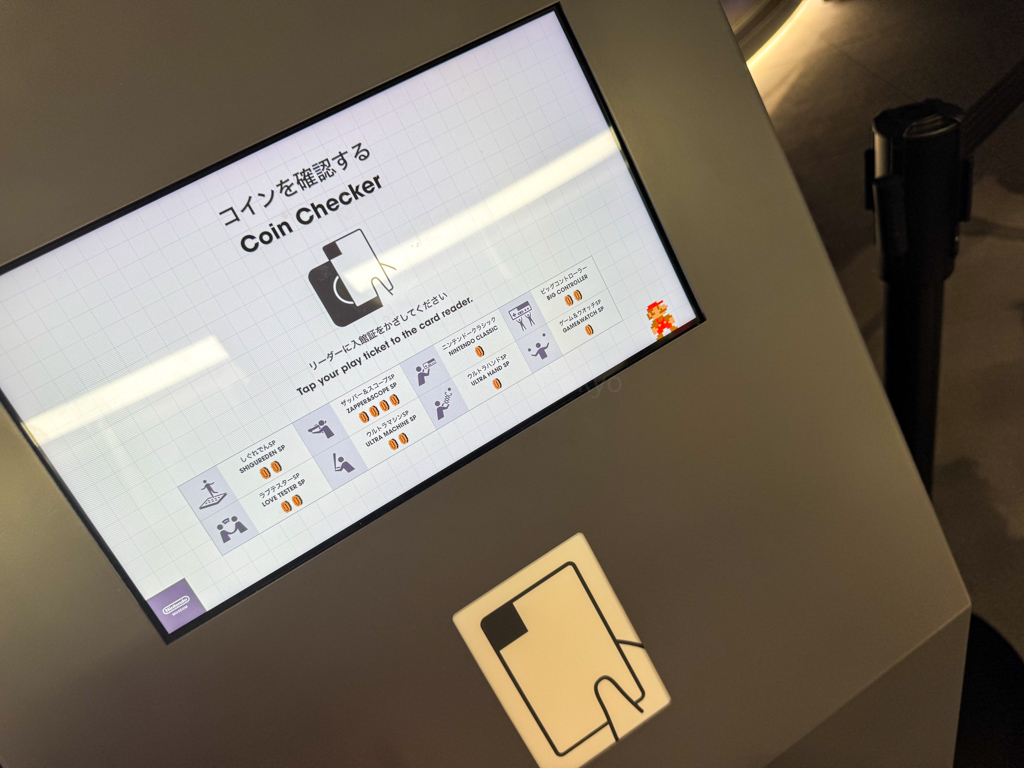
Keep in mind that you cannot purchase more coins. There are only ten per Play Ticket and once you’ve used them up, that’s it!
Here are the Play Experiences available at the Nintendo Museum and what my daughter and I thought about them.
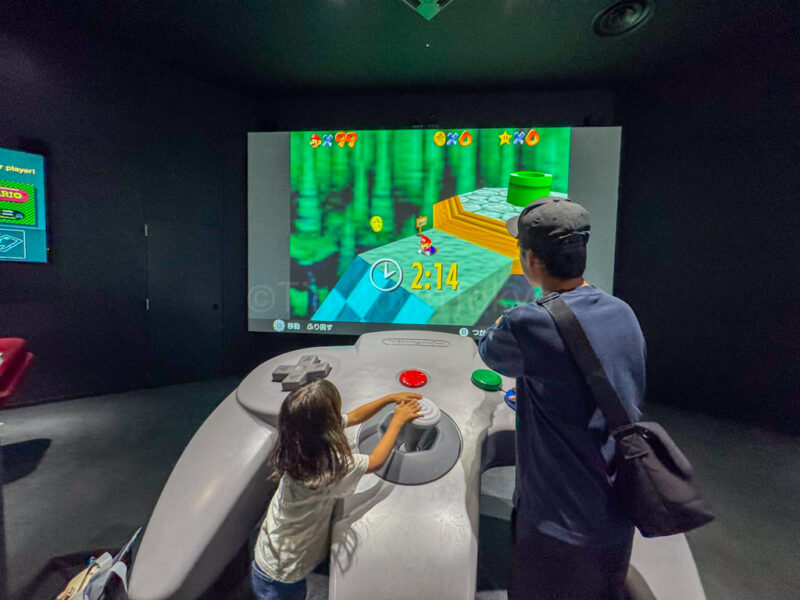
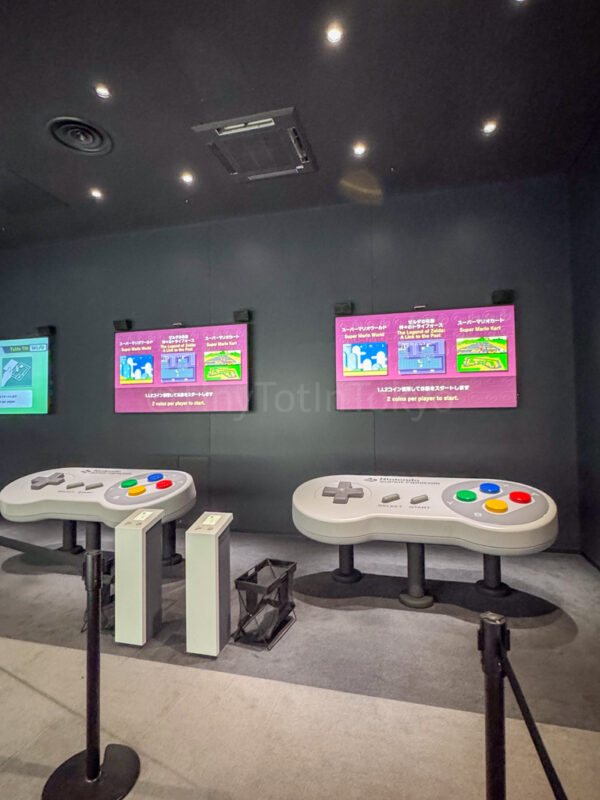
Big Controller
This was one of the games my daughter and I really wanted to do, so naturally, it was the first one we went to.
This is a two-player game where each player controls buttons on a giant Nintendo controller. They have controllers from Famicon, N64, SNES, and Wii. For the N64, you’ll be able to play on a giant screen and it looked pretty cool.
You can see the N64 screen in the middle of the image below. One Famicom screen is to the left and one Wii is to the right.
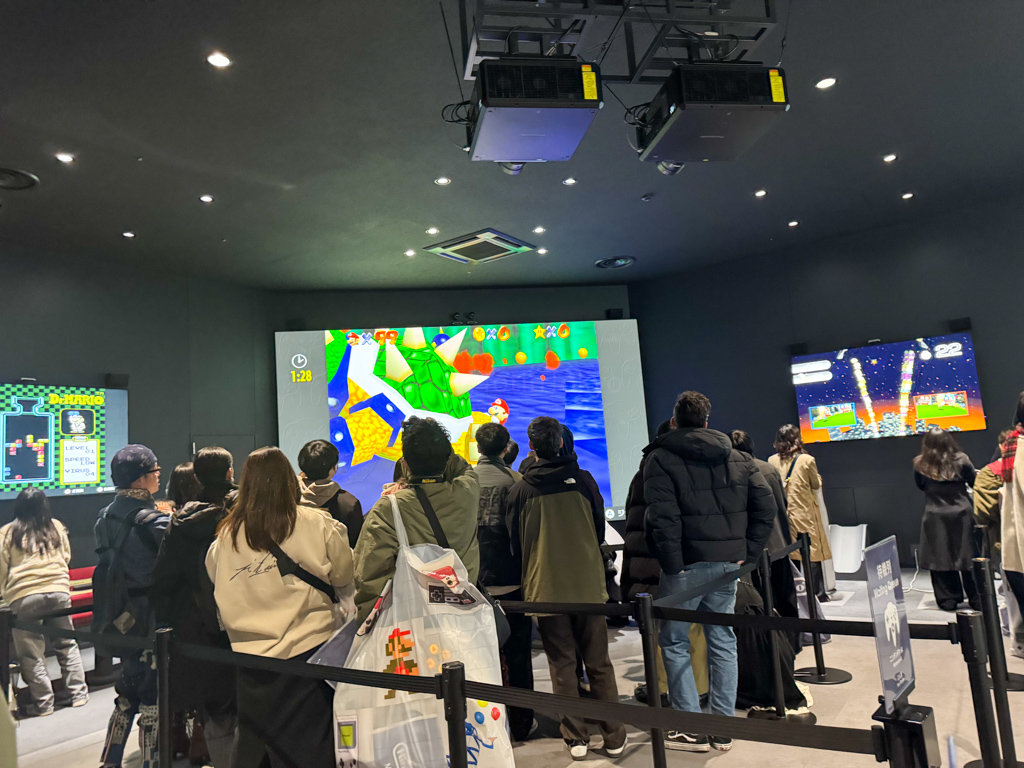
Each console (except the N64) has two controllers, each with its own screen, so two different players can play.
Before you can play, you need to join a line outside the room with the controllers and a staff member will ask you which controller you want to play with. I asked them which controller had the shortest wait time and was directed to the Famicom (my husband’s favorite console but not one that made it to North America). They gave me a card for it and when the line had shortened, I joined it.
We waited about fifteen minutes before we could play.
You have 2.5 minutes to play the game and can choose either English or Japanese.
My daughter handled the jump and dash buttons while I was in charge of the control pad.
I can’t get over how adorable she looked with that giant controller!
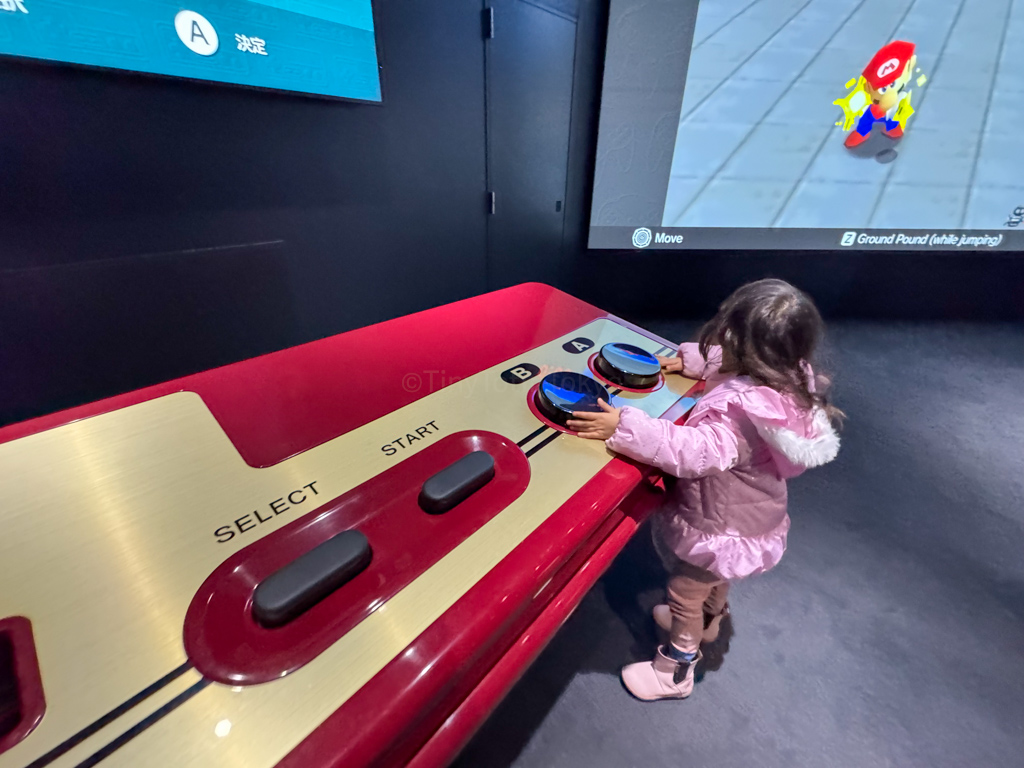
Unfortunately, although my daughter was able to smash some enemies and get mushrooms from Question Blocks, it was still challenging for us to coordinate and we couldn’t pass the first level! But it wasn’t a problem, we had a ton of fun and this was my favorite game!
Later on, at around 5:40 PM when we were leaving (after having explored the entire museum), there was hardly any line, so maybe this is the best time to try the giant controllers.
When we visited a second time with my husband, we were able to try all four of the controllers!
We started off with N64 since that’s my husband’s favorite. We waited for about twenty minutes but it was totally worth it. The game was more difficult than we expected and I ended up having to take over for my daughter, who was assisting for my husband. However, it was really fun.
Next, we did the Wii, which was also too difficult for our daughter because it was HEAVY.
The Super Nintendo controller was super easy, just like the Famicon. If you have a young child and want them to enjoy playing (without having to take over), choose this or the Famicon.
💰 Coins required: 2 from each player (if your child got playing cards instead of the Play Ticket and you’re visiting with two adults, use the Play Ticket for the Zapper & Scope since it costs 4 coins, and then use a parent’s Play Ticket for the Big Controller)
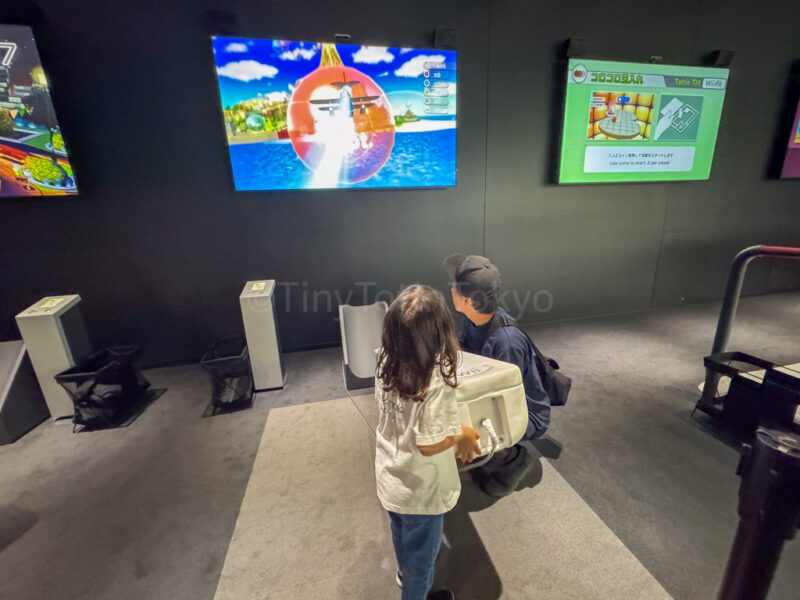
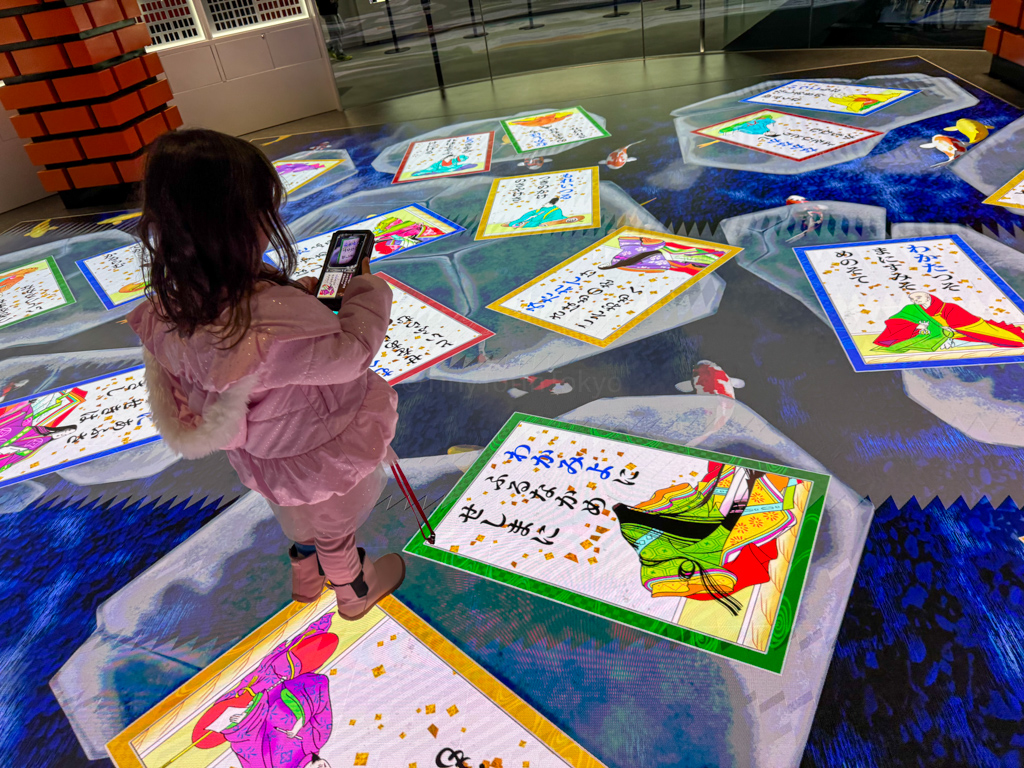
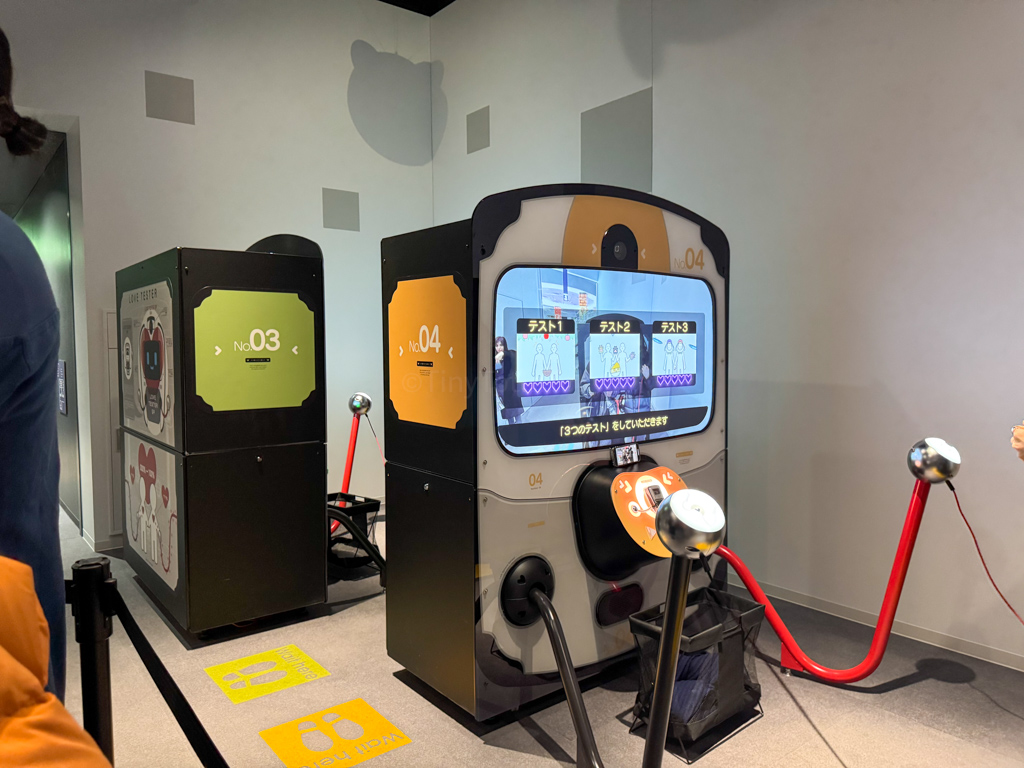
Shigureden SP
When you come down the stairs, this will likely be the first game you see since it’s smack dab in the middle.
We decided to do this game since there was no one waiting for it (yay!) and I’m really glad we did because I think it was my second favorite game (next to Big Controller).
For this game, you need to find the same giant Hanafuda card as the card shown on a handheld smartphone-like device that you carry around.
Although this is one of the games that preschoolers with playing cards can do, the staff told me that it was better to keep my daughter’s card and instead use my coin to assist her instead of us both playing together.
At first, I was a little annoyed by this because my daughter was able to play (I showed her the card on my screen and she helped me find it). But since I didn’t use my daughter’s playing card, I was able to use it for the Love Tester SP, which was really fun!
Overall, my daughter and I both enjoyed this game. And when we went with my husband, we absolutely played this again!
💰 Coins required: 2
Love Tester SP
This is a two-player game where you need to cooperate with your partner to do tasks, like catching apples in a basket. The better you cooperate, the higher your score and Love Level will be!
There was absolutely no line for this so I wasn’t sure what to expect, but it was surprisingly really fun, especially because I got to work with my daughter! It’s a great bonding experience.
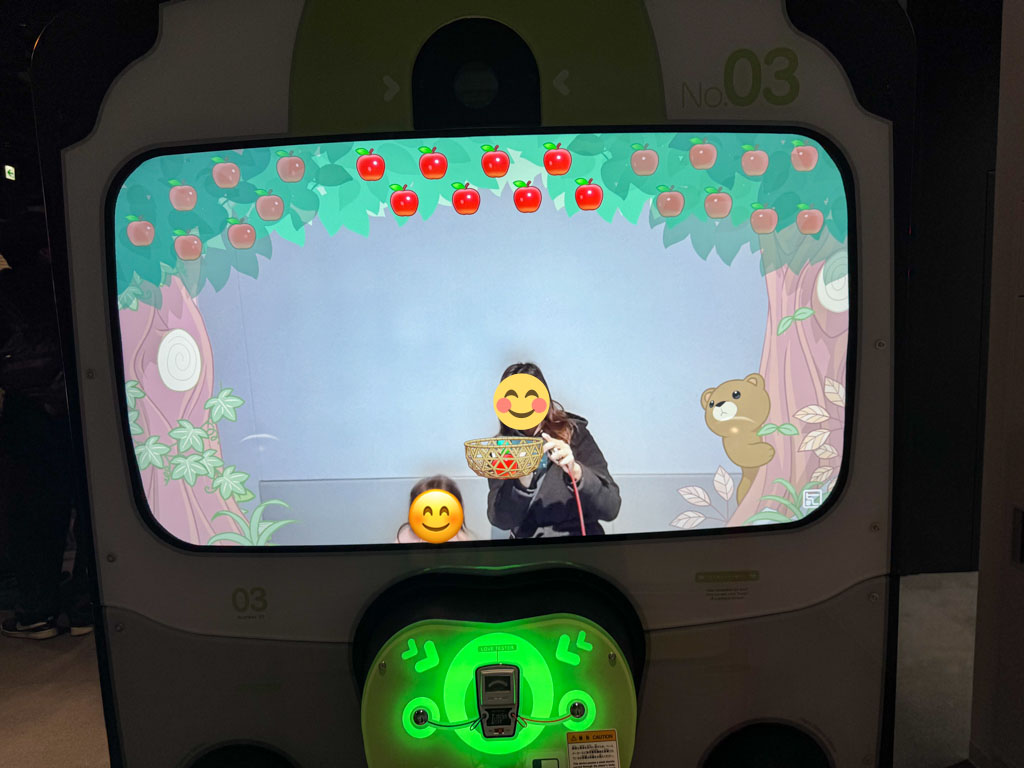
Since my daughter is quite short (107 cm), we had to use the machine for wheelchairs, and even then my daughter’s head just barely showed on the screen! Children who are at least 120 cm tall can use the regular machines.
💰 Coins required: 2 from each player
Ultra Hand SP
This game had a long line but it moved rather quickly.
People play in groups of four and have to try to use the Ultra Hand SP device to catch different objects, including Pokeballs, and drop them into pipes.
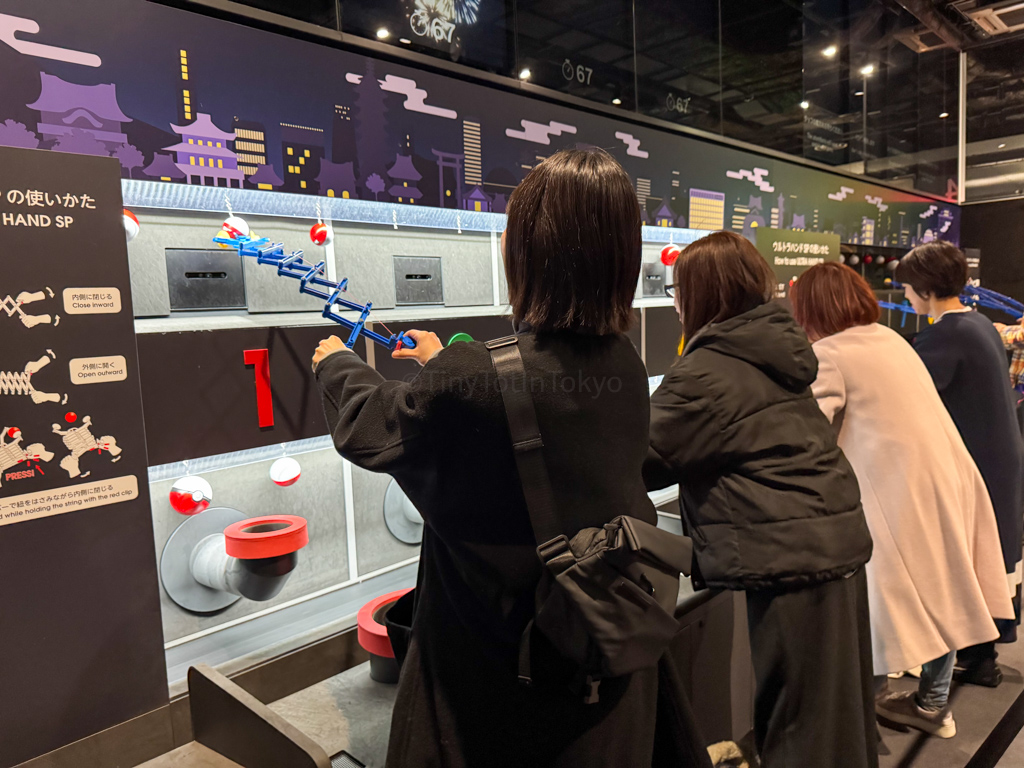
The attendant suggested that only I play because the Ultra Hand requires quite a bit of strength to move, and I’m glad I did because it was confusing to operate and much harder than it looks.
I could not figure out how to open and close the Ultra Hand despite the attendant helping me multiple times. I did manage to capture a few Pokeballs, though!
I’m glad my daughter didn’t waste a playing card on this because she could instead use it for the Game & Watch SP, which ended up being her favorite experience at the Nintendo Museum!
I would not play this game again, nor do I recommend it for kids, although I would make my husband play it because he’s way more clever than me when it comes to figuring out weird contraptions.
(However, my husband DID play this when we visited, and although it was tricky at first, he did really well!)
When you’re waiting in line for this game, see if you can spot Kirby!

💰 Coins required: 2
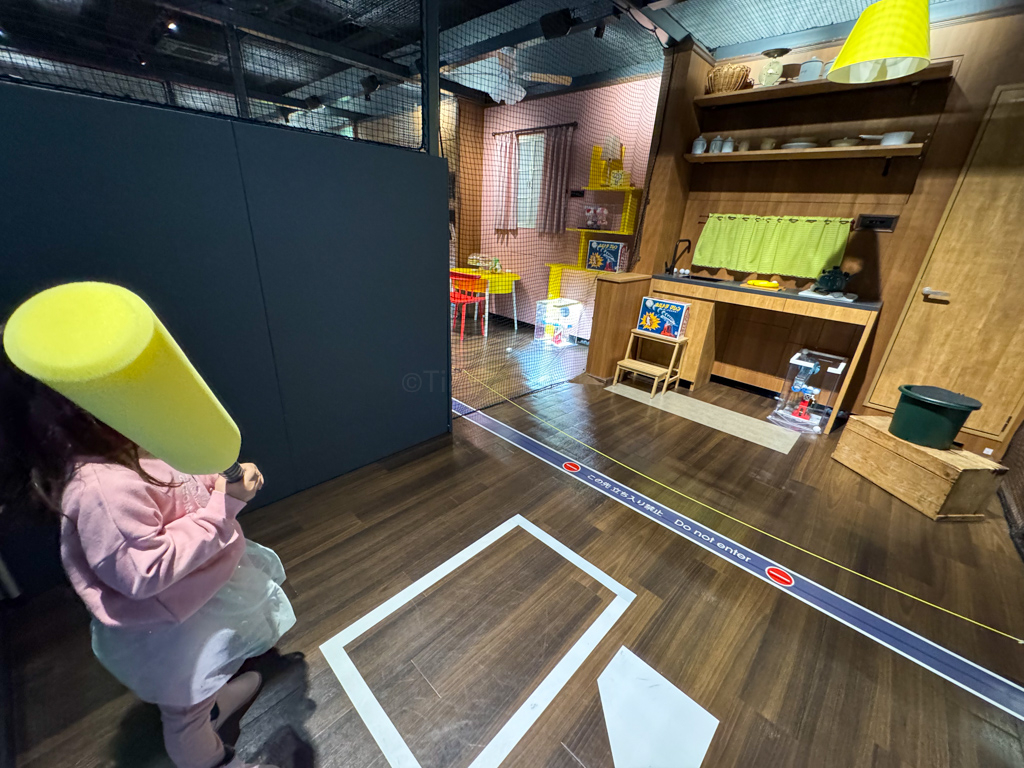
Ultra Machine SP
This was my daughter’s favorite game at the Nintendo Museum.
It’s a small batting cage where you have to strike balls using a foam bat. My daughter liked this game so much that she used her card to play once and then used two of my coins to play again!
There are four batting cages and each has a different decor. You line up in front of the room you want to play inside.
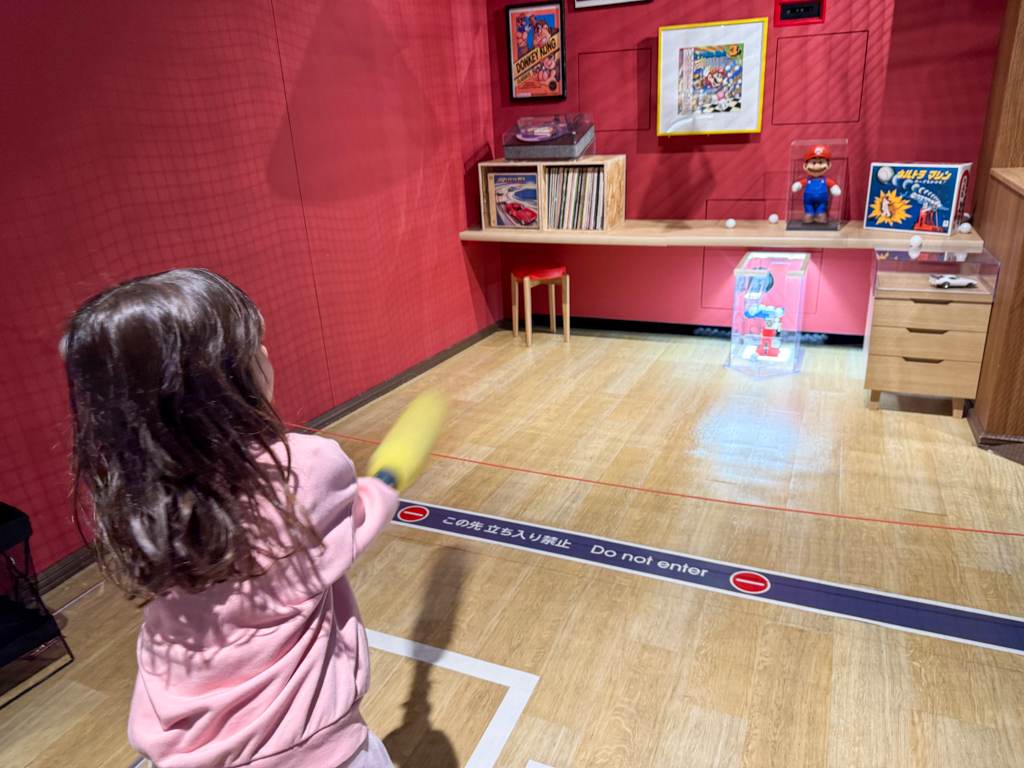
We tried two different rooms, a Nintendo character one (pictured above) and one that looks like a Japanese kitchen with a green pipe (shown below).
Later on, my daughter told me she had seen a room with a toilet in it and wanted to go there next time. (Why am I not surprised a preschooler would like the toilet room…)
Make sure to sweep the balls towards the wall when you’re done and put the broom away with the foam bat. (Someone put the broom in the baggage rack, which I thought was kind of gross…)
💰 Coins required: 2
Nintendo Classics
In this room, you can choose from over 80 games and three Nintendo consoles to play (Famicom, SNES, and N64)!
You can play some (perhaps many?) of these games on the Nintendo Switch for free, so it might not be worth your coin. But this was the only game my daughter could do using her Jack of Clubs card because she was too short for Game & Watch SP.
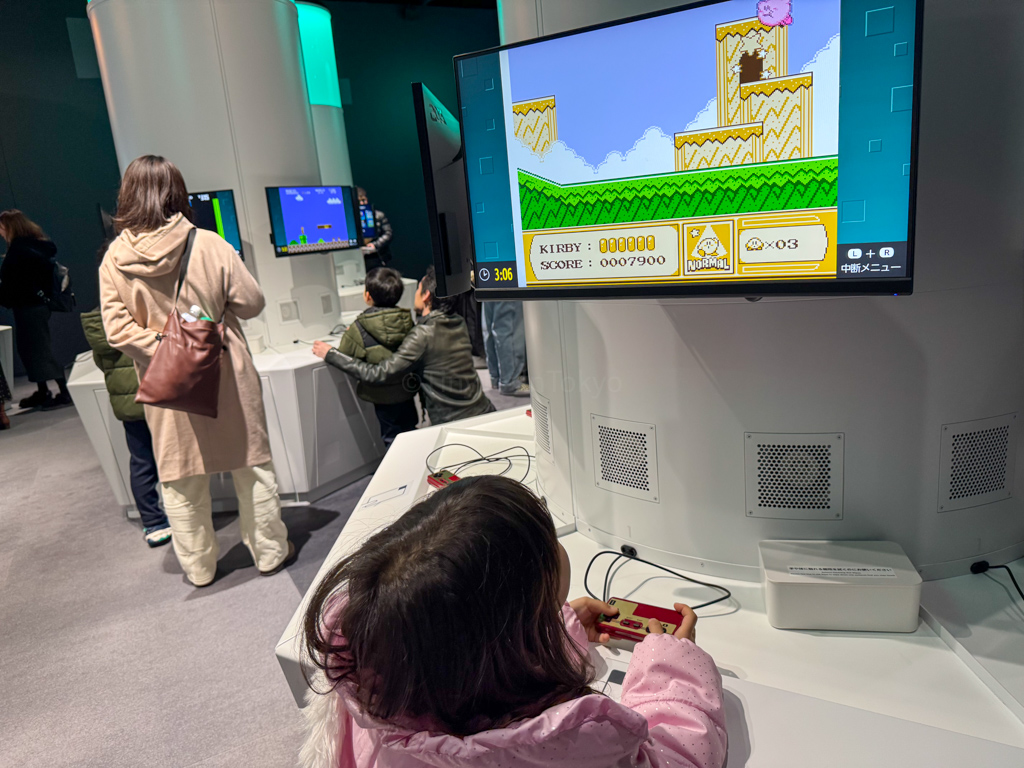
It’s fun to use the actual controller rather than the Switch one, though, so for that alone I think it’s a good experience, especially for kids. My daughter played Kirby on the Famicon for 7 minutes (the allocated time for the game) and enjoyed herself.
💰 Coins required: 1
Game & Watch SP
My daughter was too short for this game, and even I was a little short for it but I made it work.
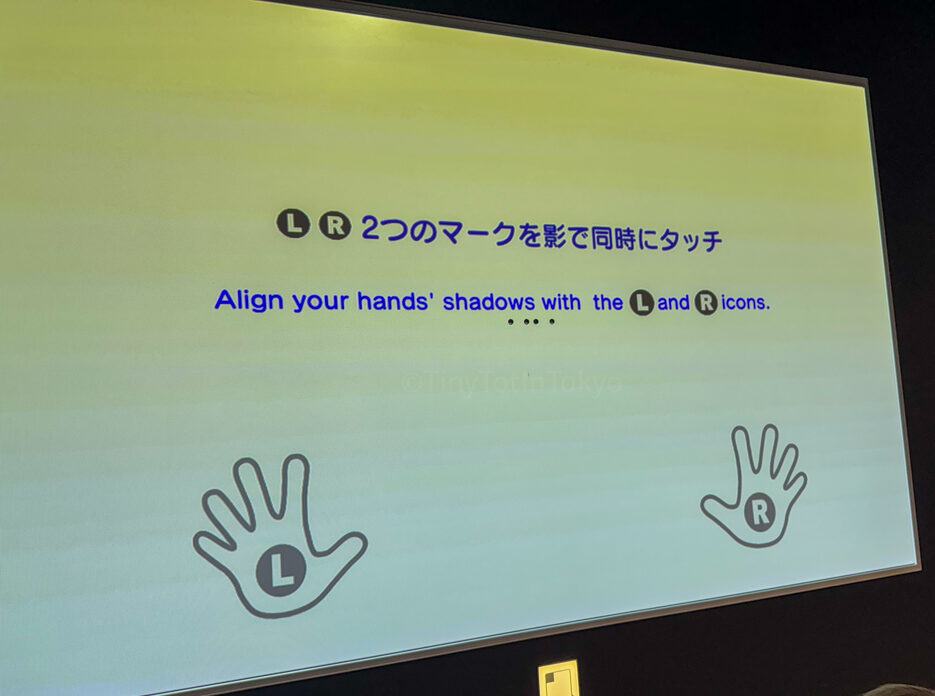
These are located on walls throughout the first floor. The game is a projection on the screen and you use your shadow to play games. I thought it was a bit difficult and my arms hurt from keeping them raised, so I wouldn’t play this again.
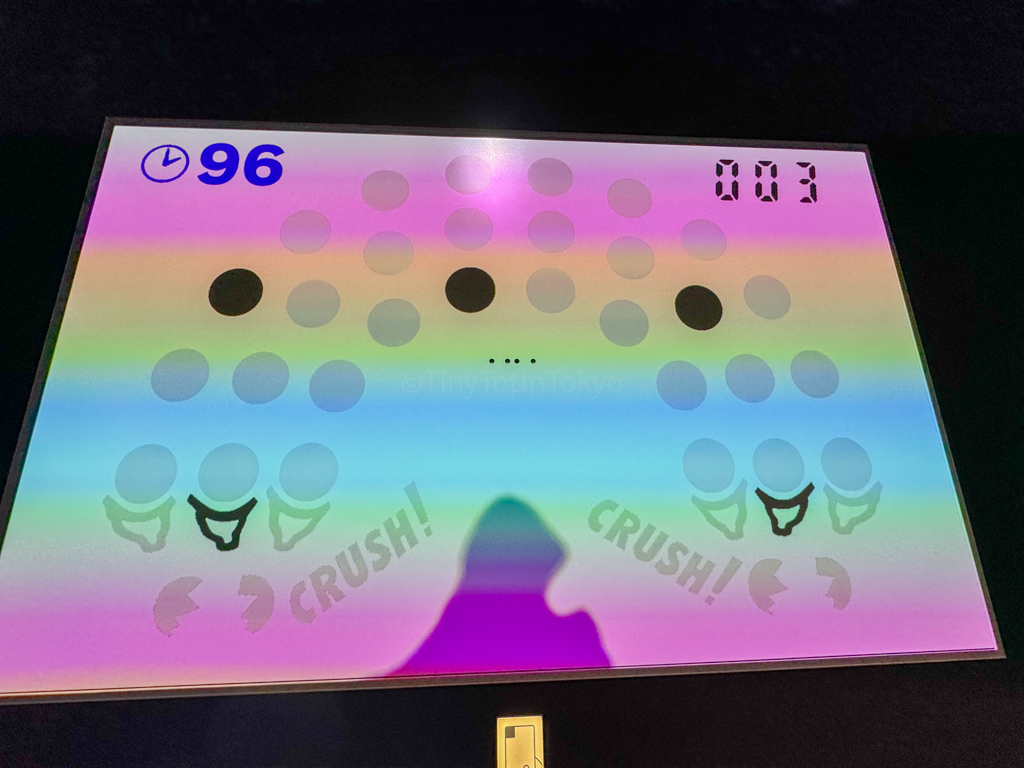
💰 Coins required: 1
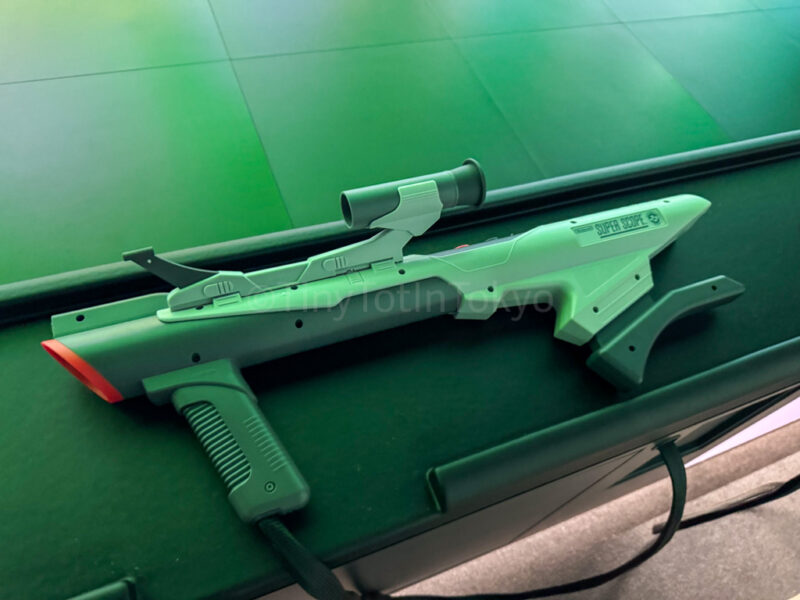
Zapper & Scope SP
There was a huge line for this, although at 5:40 PM it had considerably shortened.
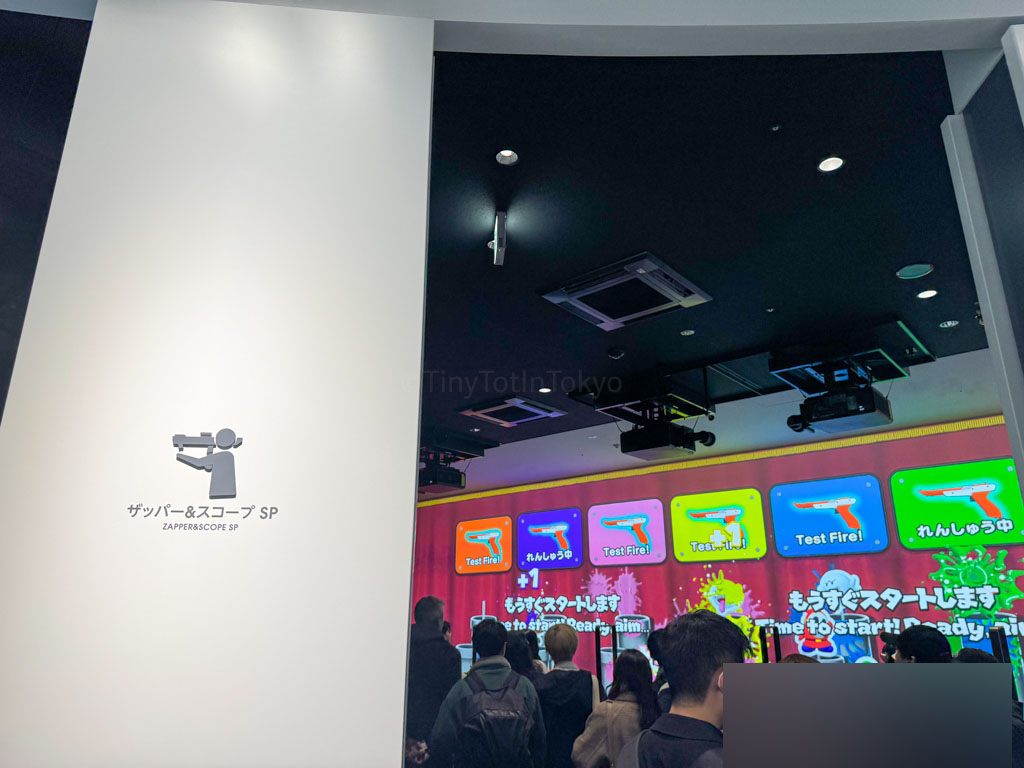
You can use the Zapper and Super Scope to target Mario enemies on a big screen.
It looks super fun but I didn’t have four coins available and my daughter used her Ace of Spades card for the Big Controller, so we unfortunately couldn’t play this game.
HOWEVER! We did try this on our second visit. My daughter and husband absolutely loved this game! (I didn’t play, I just watched.) It’s super easy and fun for kids of all ages to play.
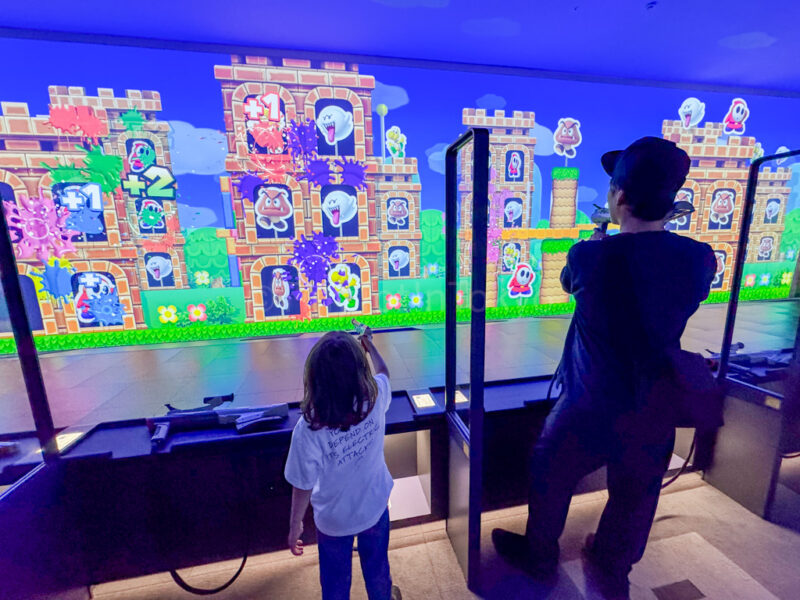
One thing I loved was that each station allowed you to choose one of two different types of zapper guns.
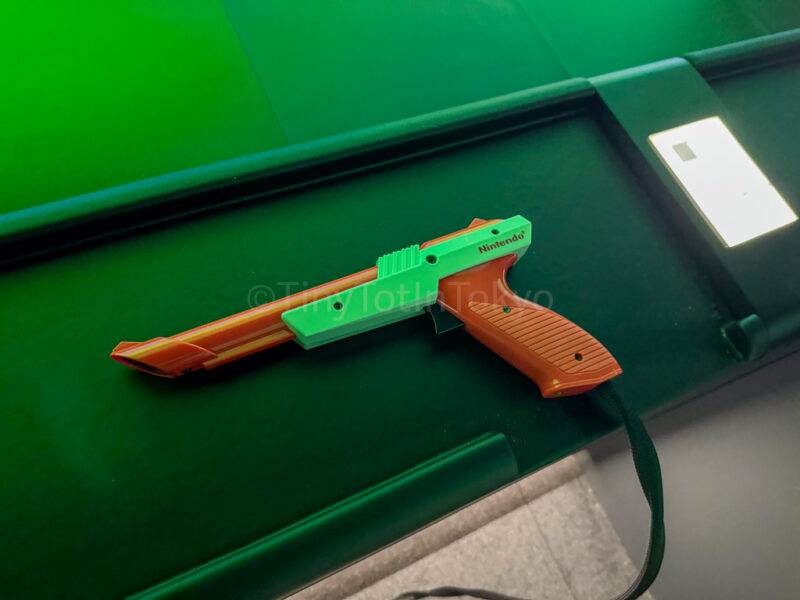
Since the children’s card makes you choose between the Big Controller and the Zapper & Scope SP, here’s what I suggest doing if you’re traveling with two parents. We used the children’s card for this game (since it’s four coins), and then I gave two coins to my kiddo so she could play the Big Controller (a two-coin game) with her father.
💰 Coins required: 4
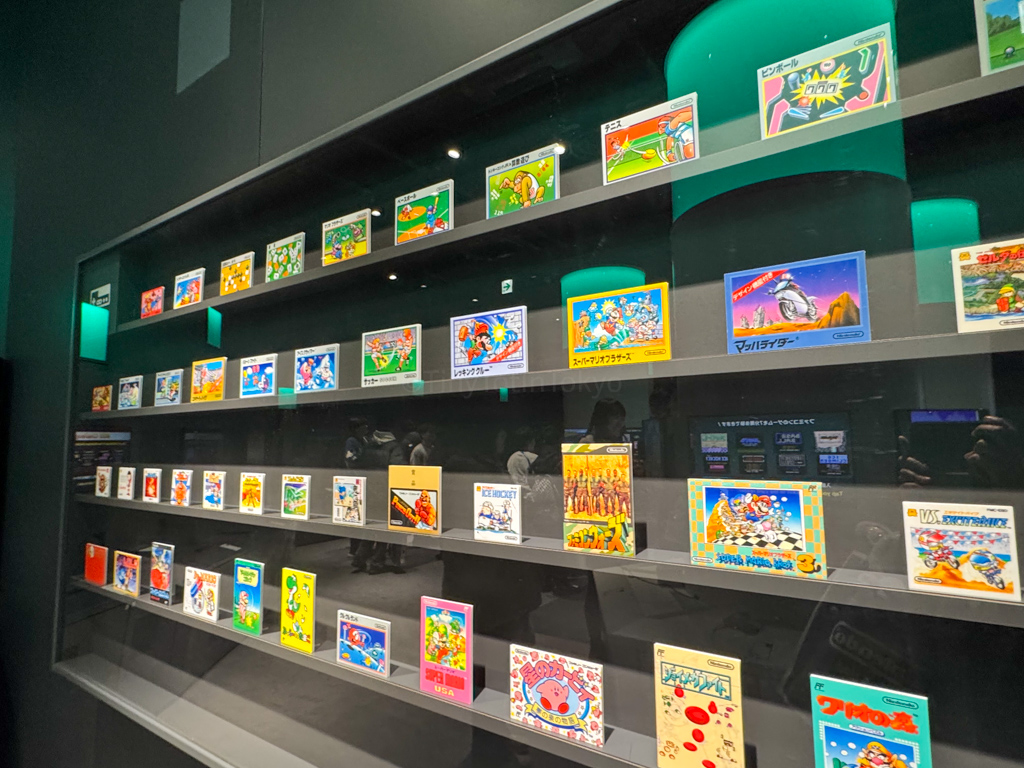
2nd Floor Nintendo Products
You’re not allowed to take photos on the 2nd floor so unfortunately, it’s all text from here on!
I was really worried about not having enough time to see all the Nintendo Products displayed on the second floor but surprisingly, we had time left over as we only spent 20 minutes here!
I think this floor would take at least an hour to see carefully if you’re a hardcore Nintendo fan. I didn’t have the luxury of taking my time because my daughter wasn’t interested in the displays. She only liked the Kirby and Pokemon ones, but since it was “look only”, she was bored (as well as tired) so she sat down on a bench.
I loved seeing the retro games and consoles. There are screens throughout showing how the games looked like on a particular console as well as old commercials. And although most of the displays are not interactive, you can look through Virtual Boy goggles to see what those particular games looked like (which my daughter enjoyed).
I also liked the screens displayed side-by-side showing the evolution of Metroid games from 1983 to 2017.
One big reason I want to go to the Nintendo Museum again is because many of the old games are Japanese and my husband probably grew up with them, so I want to see his reaction.
Overall Impressions
The Nintendo Museum was a really fun place to visit. I like that they limit the number of people because it rarely felt super crowded (except for the 1st floor of Exhibition Building 1 at times).
It’s also great for kids who are preschoolers and up, especially if they like video games like my daughter does.
I asked my daughter what she thought about the Nintendo Museum and she said, “I love it so much!”